Have you ever tried connecting to your Raspberry Pi using VNC, only to get that frustrating "connection refused" error? Yeah, it’s a real bummer. But don’t panic just yet! This guide is here to help you troubleshoot and resolve this issue once and for all. Whether you're a tech enthusiast or just starting out with Raspberry Pi, we’ve got your back. Let’s dive in and fix that pesky problem!
Raspberry Pi has become a go-to device for hobbyists, developers, and educators alike. Its versatility and affordability make it a popular choice for projects ranging from home automation to IoT applications. But let’s face it—things don’t always go as planned. One common headache is when you try to set up VNC on your Raspberry Pi and end up with a "connection refused" error. Don’t worry; we’ll walk you through the process step by step.
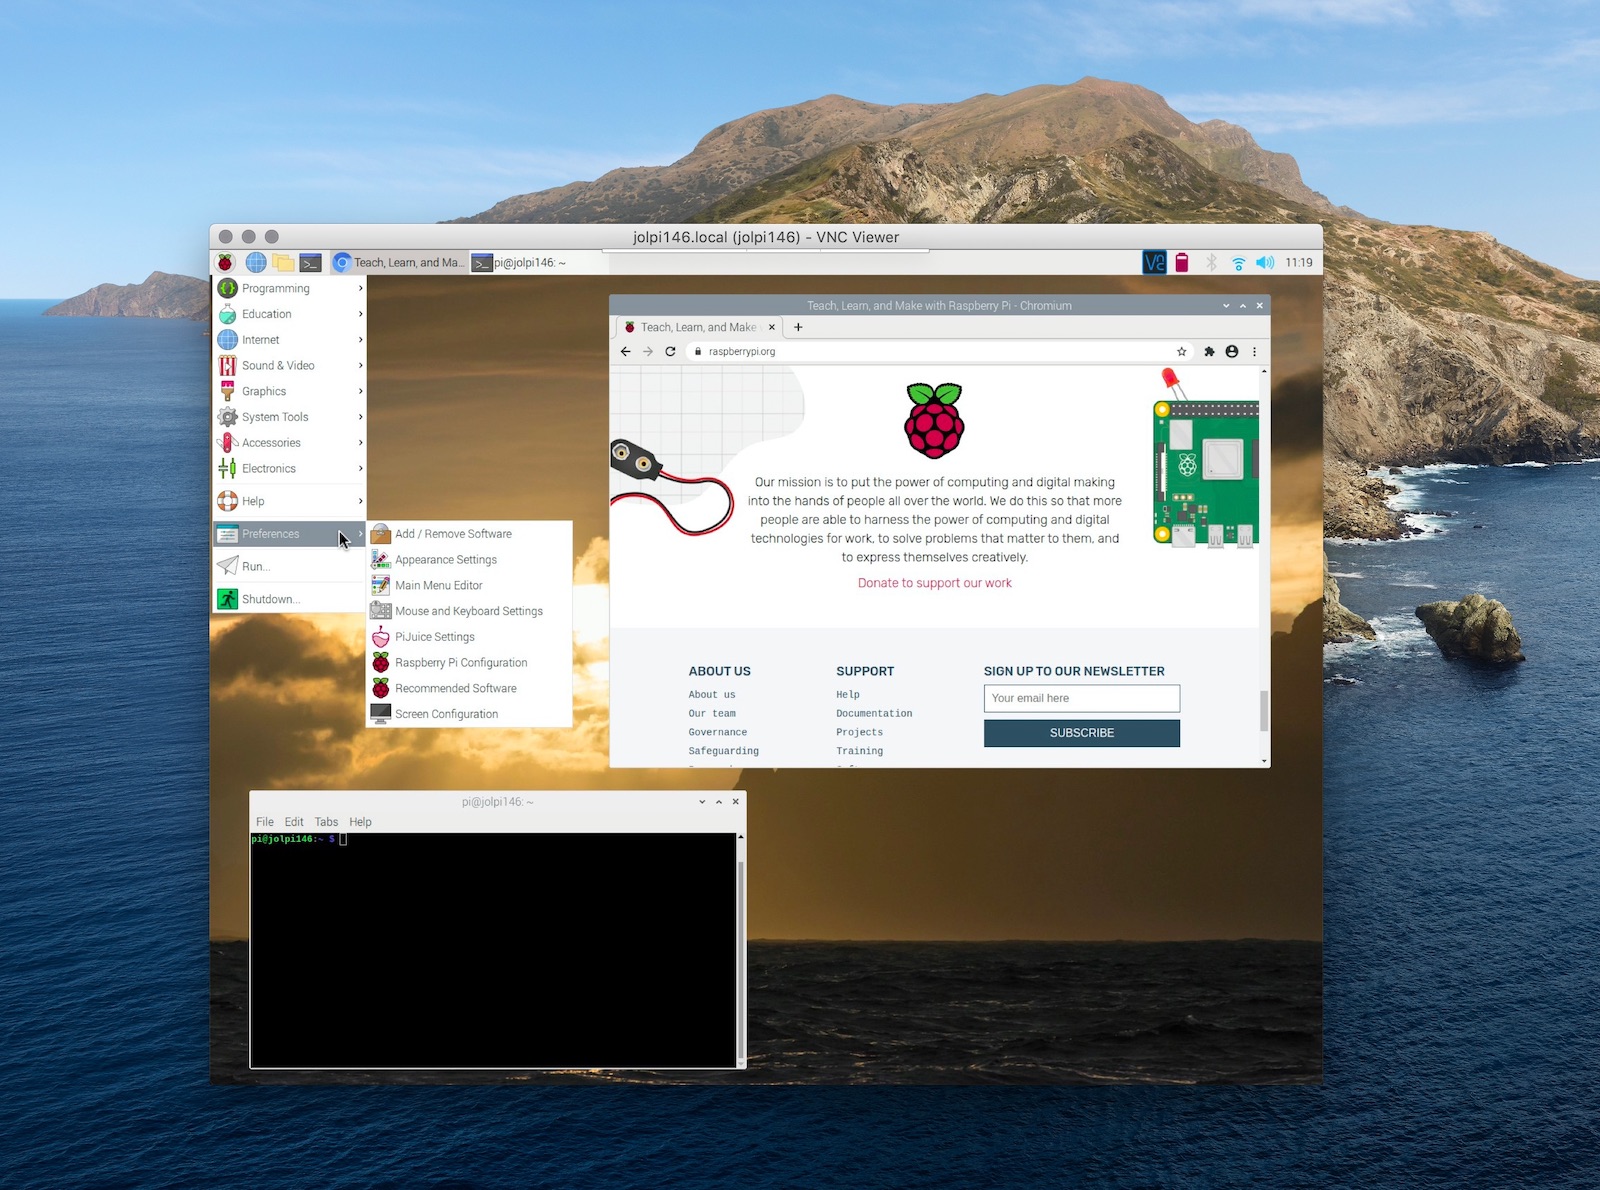
Before we jump into the nitty-gritty of troubleshooting, it’s important to understand what VNC is and why it’s such a useful tool. VNC (Virtual Network Computing) allows you to remotely access and control another computer or device over a network. For Raspberry Pi users, this means you can control your Pi from another machine without needing a monitor or keyboard connected directly. Sounds awesome, right? Well, it is—once you get it working!
Read also:Unlocking The Story Of Buscar Kid And Mother A Heartwarming Journey
Table of Contents
- What is VNC and Why Use It?
- Common Issues with Raspberry Pi VNC
- Checking if the VNC Service is Running
- Firewall Settings and Network Configuration
- Make Sure You Have the Correct IP Address
- Configuring the VNC Server Properly
- Step-by-Step Troubleshooting Guide
- Alternative Solutions to VNC
- Best Practices for Using VNC on Raspberry Pi
- Conclusion: Wrapping It All Up
What is VNC and Why Use It?
VNC stands for Virtual Network Computing, and it’s basically a graphical desktop sharing system that allows you to remotely control another computer. With VNC, you can access your Raspberry Pi’s desktop interface from another device, like a laptop or even your smartphone. It’s super handy for managing your Pi without needing a dedicated monitor or keyboard.
Here are some reasons why VNC is so useful:
- Remote Access: Control your Raspberry Pi from anywhere within your network—or even over the internet with proper setup.
- Headless Operation: Run your Pi without a monitor or peripherals attached, saving space and reducing clutter.
- Easy Setup: VNC is relatively simple to configure, especially on Raspberry Pi OS, which includes built-in support.
But sometimes, things don’t work as expected. One of the most common problems is the dreaded "connection refused" error. Let’s explore why this happens and how to fix it.
Common Issues with Raspberry Pi VNC
When you encounter a "connection refused" error while trying to connect to your Raspberry Pi via VNC, it usually indicates one of several potential problems. Here are some of the most common culprits:
- VNC Service Not Running: The VNC server might not be active on your Raspberry Pi.
- Firewall Blocking: Your network firewall could be preventing the connection.
- Incorrect IP Address: You might be trying to connect to the wrong IP address.
- Configuration Errors: Improper VNC server settings can cause connection issues.
Don’t worry—most of these problems are relatively easy to fix. In the following sections, we’ll break down each issue and provide solutions to get your VNC connection up and running.
Checking if the VNC Service is Running
One of the first things you should check is whether the VNC service is actually running on your Raspberry Pi. If the server isn’t active, no amount of troubleshooting will fix the connection issue. Here’s how you can verify:
Read also:Shopie Rain Erome The Rising Star Redefining Beauty Standards
Step 1: Log in to Your Raspberry Pi
Use SSH or connect a keyboard and monitor to log in to your Raspberry Pi. Once logged in, open a terminal window.
Step 2: Check the Status of the VNC Service
Run the following command to check if the VNC service is running:
sudo systemctl status vncserver-x11-serviced
If the service is active, you’ll see a message indicating that it’s running. If it’s inactive, you’ll need to start it manually:
sudo systemctl start vncserver-x11-serviced
After starting the service, you can enable it to start automatically on boot:
sudo systemctl enable vncserver-x11-serviced
Now that the VNC service is running, let’s move on to the next possible issue.
Firewall Settings and Network Configuration
Firewalls are designed to protect your network from unauthorized access, but they can sometimes block legitimate connections. If your Raspberry Pi’s firewall is configured to block VNC traffic, you’ll need to adjust the settings.
VNC typically uses port 5900 for connections. You’ll need to ensure that this port is open and not blocked by your firewall. Here’s how to check and modify your firewall settings:
Step 1: Check Firewall Status
Run the following command to check if the firewall is active:
sudo ufw status
If the firewall is active, you’ll see a list of allowed and denied connections. Look for port 5900 in the list. If it’s not listed, you’ll need to add a rule to allow VNC traffic:
Step 2: Allow VNC Traffic
sudo ufw allow 5900
After adding the rule, reload the firewall to apply the changes:
sudo ufw reload
With the firewall properly configured, let’s move on to another common issue.
Make Sure You Have the Correct IP Address
Another common cause of the "connection refused" error is using the wrong IP address. If you’re trying to connect to an IP that doesn’t belong to your Raspberry Pi, the connection will obviously fail.
Here’s how to find the correct IP address:
Step 1: Find the IP Address
Log in to your Raspberry Pi and run the following command:
hostname -I
This will display the IP address assigned to your Pi. Make sure you’re using this exact address when trying to connect via VNC.
Step 2: Double-Check Your Network Configuration
Ensure that your Raspberry Pi is connected to the same network as the device you’re trying to connect from. If they’re on different networks, you’ll need to configure port forwarding or use a remote access tool like ngrok.
Once you’ve confirmed the correct IP address, let’s move on to configuring the VNC server.
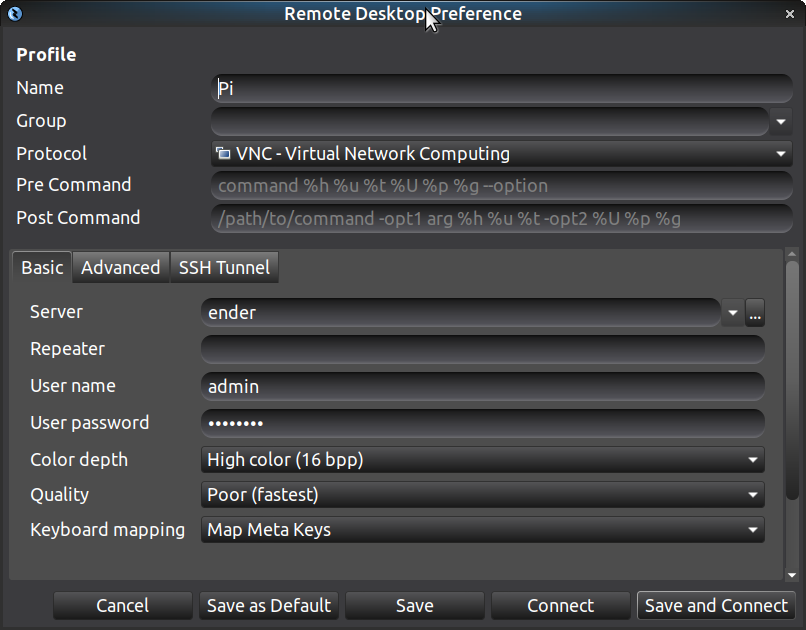
Configuring the VNC Server Properly
Even if the VNC service is running and the firewall is configured correctly, improper server settings can still cause connection issues. Let’s go over the key configuration steps:
Step 1: Enable VNC in Raspberry Pi Configuration
Run the following command to open the Raspberry Pi configuration tool:
sudo raspi-config
Navigate to "Interfacing Options" and select "VNC." Enable the VNC server and exit the configuration tool.
Step 2: Set a Secure Password
Make sure you’ve set a strong password for VNC access. You can change the password by running:
vncpasswd
This will prompt you to enter and confirm a new password. Remember to use a combination of letters, numbers, and symbols for added security.
Step 3: Verify VNC Settings
Check the VNC server settings to ensure everything is configured correctly. You can do this by running:
vncserver
This will start a new VNC session and display the session number and associated IP address. Make sure this matches the information you’re using to connect.
With the server properly configured, let’s move on to troubleshooting.
Step-by-Step Troubleshooting Guide
If you’ve followed all the previous steps and are still encountering issues, here’s a more detailed troubleshooting guide:
Step 1: Restart the VNC Service
Sometimes, simply restarting the service can resolve the issue:
sudo systemctl restart vncserver-x11-serviced
Step 2: Check Logs for Errors
Review the VNC server logs to identify any potential errors:
journalctl -u vncserver-x11-serviced
Look for any error messages that might indicate the root cause of the problem.
Step 3: Test the Connection
Use a tool like telnet to test the connection to port 5900:
telnet [Raspberry Pi IP] 5900
If the connection is successful, the issue might be with your VNC client. Try using a different client or updating the one you’re currently using.
By following these steps, you should be able to resolve most "connection refused" errors.
Alternative Solutions to VNC
If VNC continues to give you trouble, there are other remote access solutions you can try:
Option 1: SSH
SSH (Secure Shell) is a command-line tool that allows you to remotely access your Raspberry Pi. While it doesn’t provide a graphical interface, it’s incredibly powerful and secure.
Option 2: TeamViewer
TeamViewer is a popular remote access tool that works across multiple platforms. It’s easy to set up and doesn’t require port forwarding or complex configurations.
Option 3: NoMachine
NoMachine is another excellent option for remote desktop access. It offers high performance and low latency, making it ideal for demanding applications.
Explore these alternatives if VNC isn’t meeting your needs.
Best Practices for Using VNC on Raspberry Pi
To ensure a smooth and secure VNC experience, follow these best practices:
- Use Strong Passwords: Protect your VNC connections with strong, unique passwords.
- Keep Software Updated: Regularly update your Raspberry Pi OS and VNC software to fix bugs and security vulnerabilities.
- Monitor Connections: Keep an eye on who’s accessing your Pi to prevent unauthorized access.
By following these guidelines, you can enjoy a secure and reliable VNC connection to your Raspberry Pi.
Conclusion: Wrapping It All Up
Raspberry Pi VNC connection issues, such as "connection refused," can be frustrating, but they’re usually easy to fix with a bit of troubleshooting. By ensuring the VNC service is running, checking firewall settings, verifying IP addresses, and properly configuring the server, you can resolve most problems. If VNC continues to give you trouble, consider alternative remote access solutions like SSH or TeamViewer.
We hope this guide has helped you troubleshoot and resolve your Raspberry Pi VNC issues. If you found this article useful, feel free to share it with your fellow Raspberry Pi enthusiasts. And don’t forget to leave a comment below if you have any questions or additional tips!
Happy hacking, and may your VNC connections always be smooth and seamless!