When it comes to setting up a Raspberry Pi 3 (RPi3) with a VNC server, security should be your top priority. Imagine leaving your front door unlocked while you're away on vacation—yeah, that's exactly how risky it is to neglect securing your VNC server. In today's digital world, hackers are always on the prowl, looking for vulnerabilities in devices like yours. So, securing your RPi3 VNC server isn't just an option; it's a necessity.
Now, don’t get me wrong, Raspberry Pi is one of the coolest gadgets around, and setting up a VNC server opens up a world of possibilities for remote access and automation. But, as the saying goes, with great power comes great responsibility. This guide will walk you through the steps you need to take to secure your RPi3 VNC server like a pro, even if you’re not one.
So, whether you're using your RPi3 for home automation, media streaming, or just tinkering around, this article will help you lock down your VNC server so you can focus on the fun stuff without worrying about cyber threats. Let’s dive in, shall we?
Read also:Is Salt Trick For Men Real The Ultimate Truth About This Viral Sensation
Table of Contents
- Introduction to VNC on RPi3
- The Raspberry Pi 3: A Quick Overview
- Securing Your VNC Server
- Password Protection
- Firewall Settings
- SSH Tunneling
- Encryption Methods
- Updating Your Software
- Monitoring Logs
- Additional Security Tips
- Conclusion
Introduction to VNC on RPi3
First things first, what exactly is a VNC server? VNC stands for Virtual Network Computing, and it allows you to remotely control another computer or device over a network. In the case of your RPi3, setting up a VNC server lets you access its desktop interface from another device, like your laptop or smartphone. Cool, right?
But here's the thing: while VNC is super convenient, it can also be a security risk if not properly configured. Think about it—anyone who gains access to your VNC server can potentially control your RPi3 and access all the data on it. That's why we’re here to help you secure your VNC server so you can enjoy the benefits without the risks.
The Raspberry Pi 3: A Quick Overview
Before we dive deeper into securing your VNC server, let’s take a moment to appreciate the little powerhouse that is the Raspberry Pi 3. Launched in 2016, the RPi3 has become a favorite among tech enthusiasts, educators, and hobbyists alike.
| Model | Raspberry Pi 3 |
|---|---|
| Processor | 1.2GHz 64-bit quad-core ARM Cortex-A53 |
| RAM | 1GB LPDDR2 SDRAM |
| Connectivity | 802.11n Wireless LAN and Bluetooth 4.1 |
| Ports | 4 USB ports, HDMI port, Ethernet port |
With its impressive specs, the RPi3 is more than capable of handling a VNC server setup. But, as with any device, security is key to ensuring its longevity and performance.
Securing Your VNC Server
Securing your VNC server on RPi3 involves several steps, each designed to add an extra layer of protection. Let’s break it down:
Password Protection
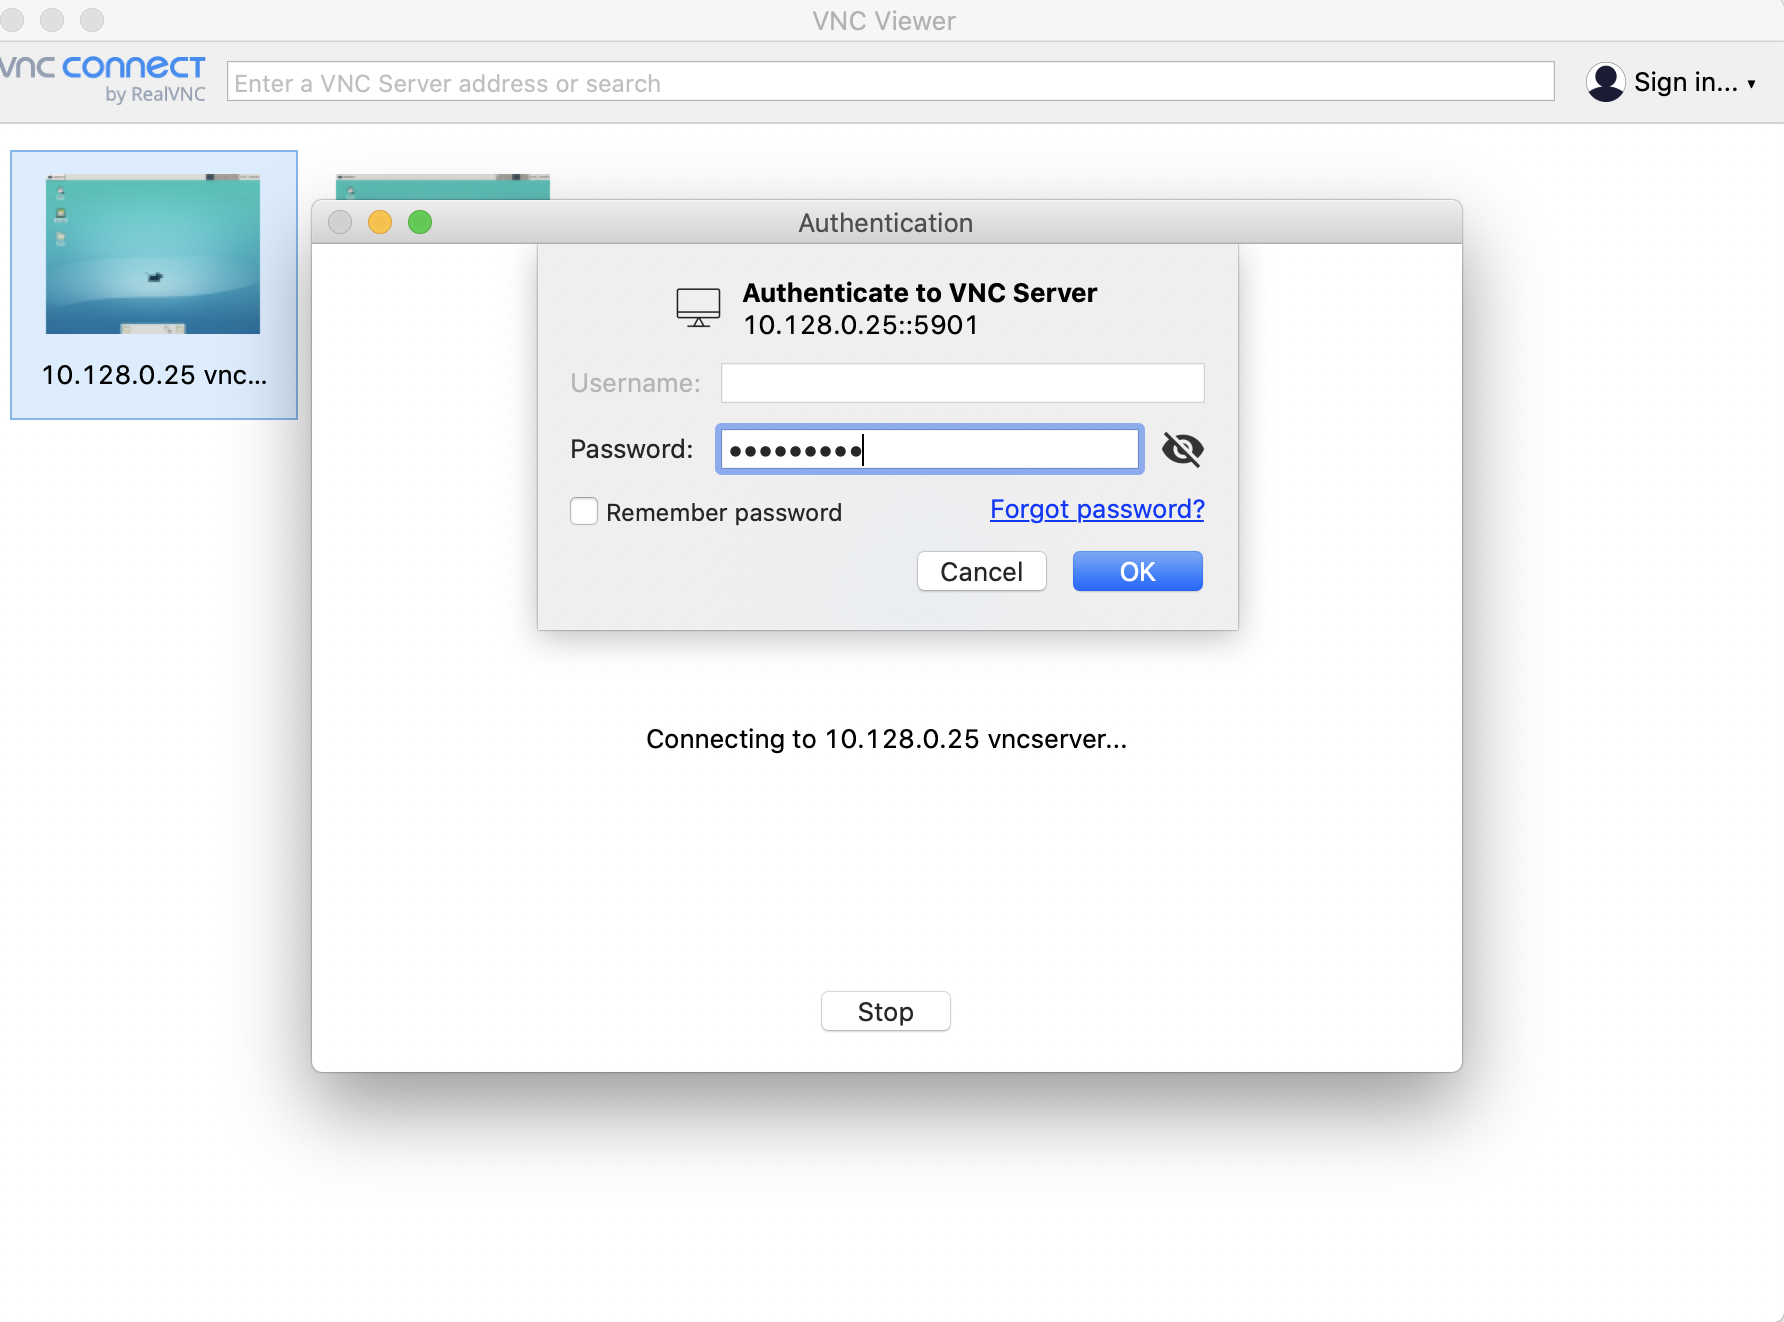
One of the simplest yet most effective ways to secure your VNC server is by using strong passwords. A strong password should be at least 12 characters long and include a mix of uppercase and lowercase letters, numbers, and symbols. Avoid using easily guessable information like your name or birthdate.
Read also:Pining For Kim Trailblazer Animation A Deep Dive Into The Hype And Craze
- Use a password manager to generate and store complex passwords.
- Change your passwords regularly to minimize the risk of unauthorized access.
- Enable two-factor authentication (2FA) if supported by your VNC software.
Firewall Settings
A firewall acts as a barrier between your RPi3 and potential threats on the internet. By configuring your firewall settings, you can control which ports are open and which are closed, reducing the risk of unauthorized access.
- Use ufw (Uncomplicated Firewall) on your RPi3 to manage firewall rules.
- Allow only the necessary ports for VNC, typically 5900-590X.
- Block all other unnecessary ports to enhance security.
SSH Tunneling
SSH tunneling is a powerful technique that allows you to encrypt your VNC connection, making it much harder for hackers to intercept your data. Here’s how you can set it up:
First, you’ll need to install an SSH client on your local machine. Then, establish an SSH connection to your RPi3 using the following command:
ssh -L 5900:localhost:5900 pi@your_rpi_ip_address
Once the SSH tunnel is established, you can connect to your VNC server locally on your machine, ensuring that all data transmitted is encrypted.
Encryption Methods
In addition to SSH tunneling, you can also use encryption methods provided by your VNC software. Most modern VNC clients support encryption protocols like TLS, which can significantly enhance the security of your connection.
- Check if your VNC software supports encryption and enable it in the settings.
- Consider using a VNC server that supports end-to-end encryption for maximum security.
Updating Your Software
Keeping your software up to date is crucial for maintaining security. Software updates often include patches for known vulnerabilities, so neglecting updates can leave your RPi3 exposed to potential threats.
- Regularly check for updates for your VNC software and Raspberry Pi OS.
- Enable automatic updates if possible to ensure you always have the latest security patches.
Monitoring Logs
Monitoring logs can help you detect and respond to suspicious activity on your RPi3. By regularly reviewing your system logs, you can identify any unauthorized access attempts or unusual behavior.
- Use tools like log2ram to manage and analyze your logs efficiently.
- Set up alerts for specific log events to notify you of potential security threats.
Additional Security Tips
Here are a few more tips to further enhance the security of your RPi3 VNC server:
- Limit access to your VNC server by specifying allowed IP addresses in your firewall settings.
- Disable unnecessary services running on your RPi3 to reduce the attack surface.
- Use a strong, unique username for your RPi3 instead of the default "pi" to make it harder for hackers to guess.
Conclusion
In conclusion, securing your RPi3 VNC server is essential for protecting your data and ensuring the smooth operation of your device. By following the steps outlined in this guide, you can significantly reduce the risk of unauthorized access and potential cyber threats.
Remember, security is an ongoing process. Stay informed about the latest threats and updates, and regularly review your security measures to ensure they remain effective. And don’t forget to share this article with your fellow tech enthusiasts—it could help them secure their RPi3 VNC servers too!
So, go ahead and secure your RPi3 VNC server today. Your future self—and your data—will thank you for it. Cheers!