Hey there, tech enthusiasts! If you’re diving into the world of Raspberry Pi and looking to set up a secure connection using SSH tunnel, you’ve come to the right place. Raspberry Pi SSH tunnel is not just a buzzword; it’s an essential tool for anyone working with remote servers or IoT projects. Imagine having the power to securely access your Raspberry Pi from anywhere in the world without worrying about hackers or data breaches. Sounds cool, right? Well, buckle up because we’re about to take you on a journey through the ins and outs of SSH tunnels on Raspberry Pi.
Before we dive deep into the nitty-gritty details, let’s quickly understand why this topic matters. In today’s interconnected world, security is paramount. Whether you’re a hobbyist tinkering with home automation or a professional managing a network of devices, knowing how to create a secure SSH tunnel can save you a lot of headaches. And guess what? Raspberry Pi makes it incredibly easy to set up, even for beginners. So, whether you’re a seasoned pro or just starting out, this guide has got you covered.
Now, without further ado, let’s break down what you need to know about Raspberry Pi SSH tunnel. From setting up your Pi to troubleshooting common issues, we’ll cover everything step by step. Stick around, and by the end of this article, you’ll be an SSH tunneling pro!
Read also:Theo Von Engaged The Hilarious Journey To Love And Marriage
Table of Contents:
- What is SSH Tunnel?
- Raspberry Pi Basics
- Setting Up SSH on Raspberry Pi
- Configuring SSH Tunnel
- Securing Your SSH Connection
- Troubleshooting Common Issues
- Advanced Techniques
- Real-World Applications
- Performance Tips
- Conclusion
What is SSH Tunnel?
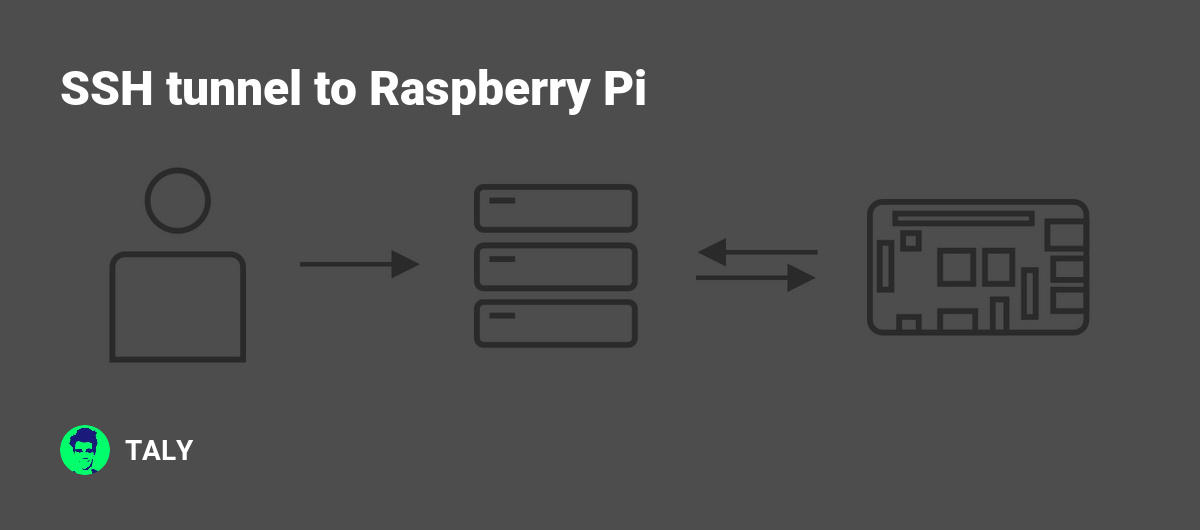
Alright, let’s start with the basics. SSH stands for Secure Shell, and it’s a protocol that allows you to securely connect to a remote computer or server. Think of it as a secret pathway between your computer and another device. Now, when we talk about SSH tunneling, we’re referring to a technique where you can encapsulate other protocols within the SSH connection. This is super useful if you want to securely access services like HTTP, FTP, or even databases without exposing them to the public internet.
For example, imagine you have a web server running on your Raspberry Pi, but you don’t want to expose it directly to the internet. By setting up an SSH tunnel, you can access the web server securely from anywhere without worrying about unauthorized access. Cool, right?
Why Use SSH Tunnel?
Here’s a quick rundown of why SSH tunneling is such a big deal:
- It provides end-to-end encryption, keeping your data safe from prying eyes.
- You can bypass firewalls and network restrictions by tunneling through SSH.
- It’s a cost-effective solution compared to setting up dedicated hardware for secure connections.
- It’s easy to set up, even for beginners.
Raspberry Pi Basics
Now that we’ve covered the basics of SSH tunneling, let’s talk about the star of the show: Raspberry Pi. This tiny yet powerful computer has revolutionized the world of computing, especially for hobbyists and educators. Whether you’re building a home automation system, a media center, or a weather station, Raspberry Pi is a versatile tool that can handle it all.
For our purposes, we’ll focus on using Raspberry Pi as a secure SSH server. But first, let’s make sure you’ve got the basics covered. You’ll need:
Read also:Pining For Kim Trailblazer Animation A Deep Dive Into The Hype And Craze
- A Raspberry Pi (any model will do).
- A microSD card with the latest version of Raspberry Pi OS installed.
- An Ethernet cable or Wi-Fi connection.
- A keyboard and monitor (optional if you’re setting up headless).
Why Raspberry Pi is Perfect for SSH Tunneling
Raspberry Pi is lightweight, power-efficient, and easy to configure. Plus, it’s affordable, making it an ideal choice for setting up secure SSH connections. Whether you’re managing a fleet of IoT devices or just want to access your home network remotely, Raspberry Pi has got you covered.
Setting Up SSH on Raspberry Pi
Alright, let’s get our hands dirty. The first step in creating an SSH tunnel is enabling SSH on your Raspberry Pi. Don’t worry; it’s super easy. Here’s how you do it:
Step 1: Boot up your Raspberry Pi and log in to the desktop environment.
Step 2: Open the Raspberry Pi Configuration tool. You can find it under Preferences > Raspberry Pi Configuration.
Step 3: Navigate to the Interfaces tab and enable SSH. That’s it!
If you’re setting up your Pi headless (without a monitor), you can enable SSH by creating an empty file called “ssh” on the boot partition of your SD card. Simple, right?
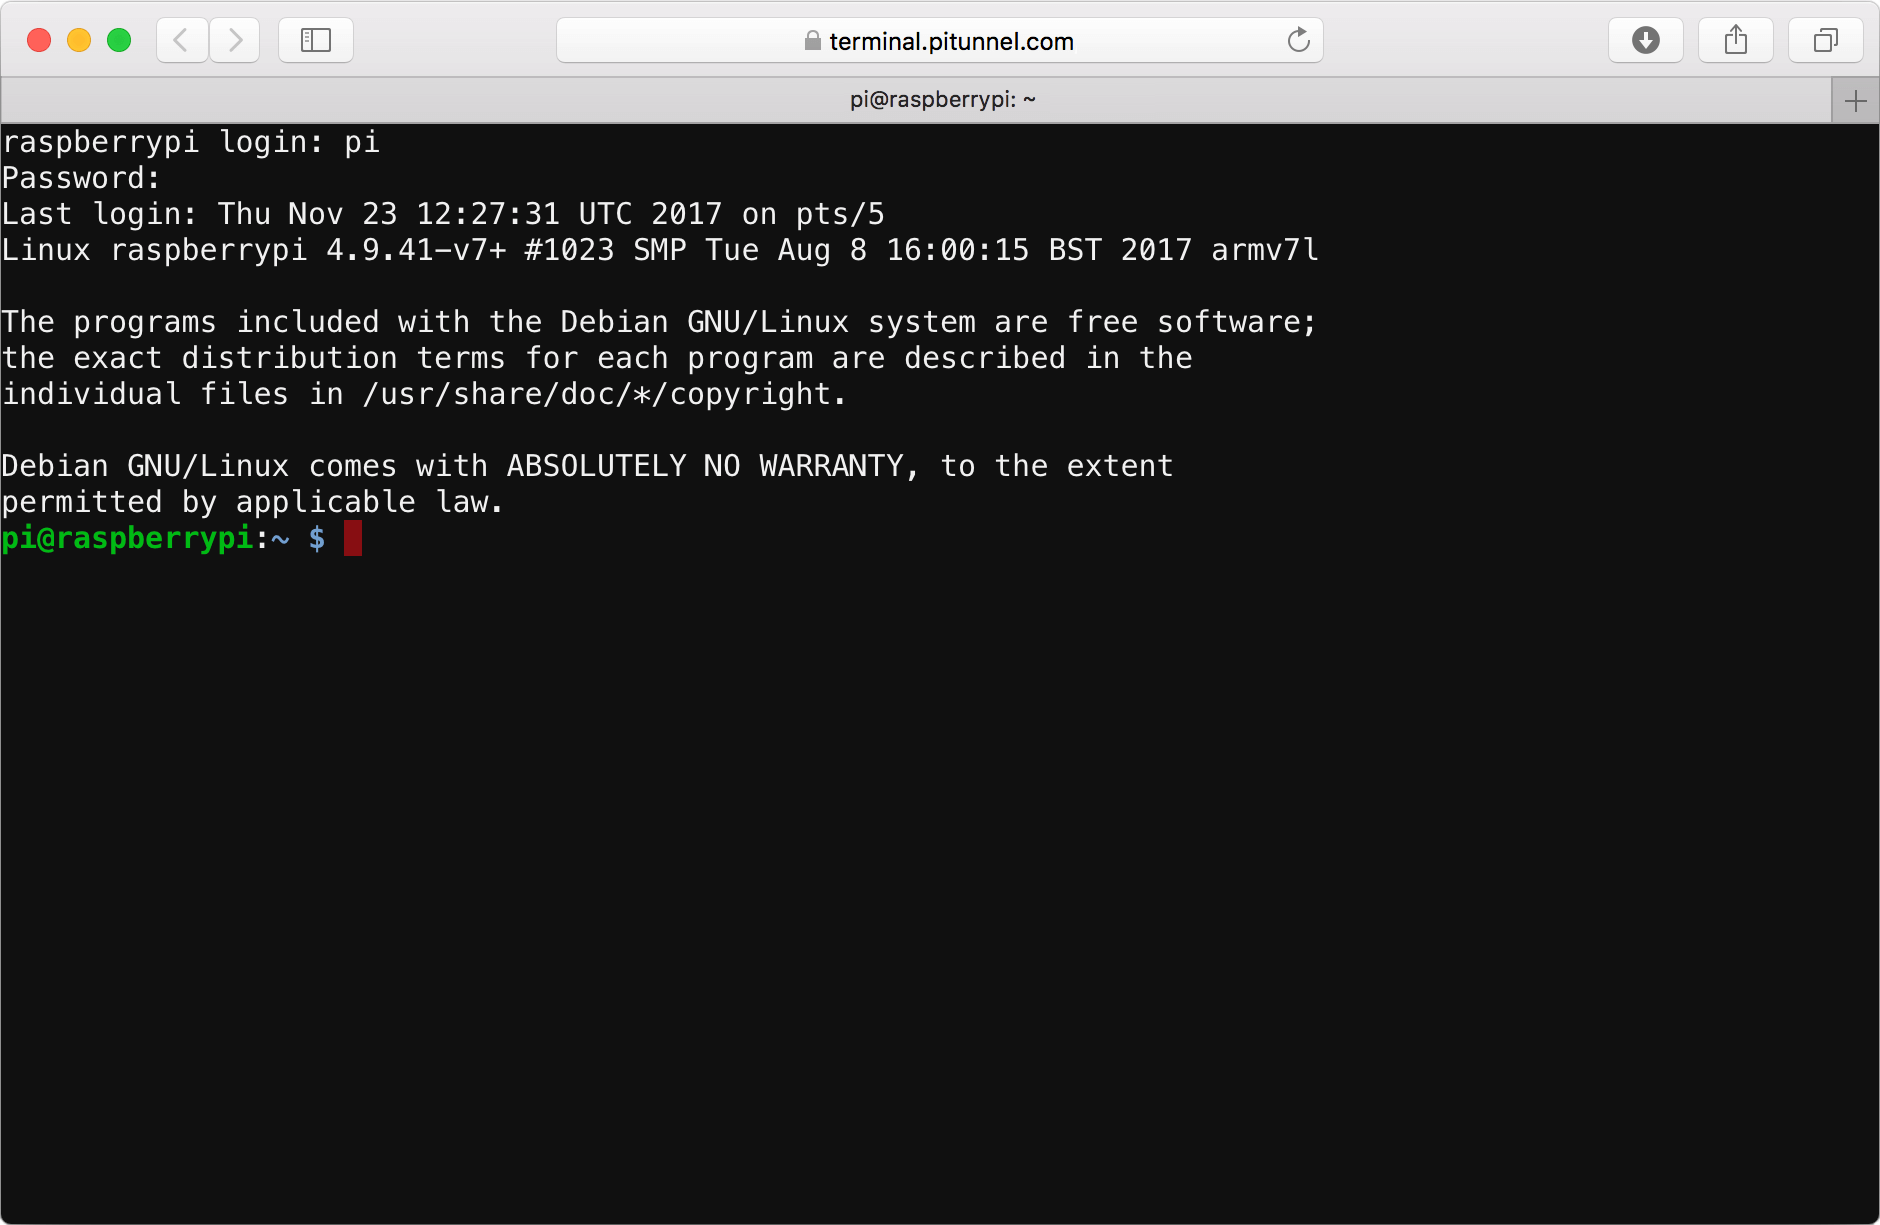
Verifying SSH Status
Once you’ve enabled SSH, it’s a good idea to verify that it’s running. Open a terminal window and type:
sudo service ssh status
If everything is set up correctly, you should see a message indicating that SSH is active and running.
Configuring SSH Tunnel
Now that SSH is up and running, it’s time to configure the tunnel. This is where the magic happens. There are a few different ways to set up an SSH tunnel, but we’ll focus on the most common method: local forwarding.
Step 1: Open a terminal window on your local machine.
Step 2: Use the following command to create a local tunnel:
ssh -L [local_port]:[remote_host]:[remote_port] [username]@[raspberry_pi_ip]
Replace the placeholders with your actual values. For example:
ssh -L 8080:localhost:80 pi@192.168.1.10
This command creates a tunnel that forwards traffic from port 8080 on your local machine to port 80 on your Raspberry Pi.
Tips for Configuring SSH Tunnels
- Choose a unique local port to avoid conflicts.
- Use strong passwords or SSH keys for added security.
- Consider setting up a dynamic DNS service if your Raspberry Pi has a dynamic IP address.
Securing Your SSH Connection
Security is key when it comes to SSH tunnels. Here are a few tips to keep your connection safe:
- Use SSH Keys: Passwords are fine, but SSH keys provide an extra layer of security. Generate a key pair using the ssh-keygen command and copy the public key to your Raspberry Pi.
- Disable Password Authentication: Once you’ve set up SSH keys, disable password authentication to prevent brute-force attacks.
- Change the Default Port: The default SSH port is 22. Changing it to something less common can deter attackers.
- Use a Firewall: Configure a firewall to restrict access to your Raspberry Pi’s SSH port.
Best Practices for SSH Security
Remember, security is an ongoing process. Regularly update your Raspberry Pi’s software, monitor for suspicious activity, and review your SSH configurations periodically.
Troubleshooting Common Issues
Even the best-laid plans can go awry. Here are some common issues you might encounter when setting up an SSH tunnel and how to fix them:
Connection Refused
If you’re getting a “connection refused” error, double-check the following:
- Is SSH enabled on your Raspberry Pi?
- Are you using the correct IP address and port?
- Is your firewall blocking the connection?
Authentication Failed
If you’re having trouble authenticating, make sure:
- Your username and password are correct.
- Your SSH keys are properly configured.
- SSH is allowed through your network’s firewall.
Advanced Techniques
Once you’ve mastered the basics, it’s time to take your SSH tunneling skills to the next level. Here are a few advanced techniques to consider:
Dynamic Port Forwarding
Dynamic port forwarding allows you to use your SSH connection as a SOCKS proxy. This is great for browsing the web securely or accessing restricted content. Use the -D option in your SSH command to enable dynamic forwarding.
SSH Tunnel as a Service
For hands-free operation, consider setting up your SSH tunnel as a systemd service. This way, it will automatically start when your Raspberry Pi boots up. Just create a new service file in /etc/systemd/system/ and configure it to run your SSH command.
Real-World Applications
Now that you know how to set up an SSH tunnel on Raspberry Pi, let’s talk about some real-world applications:
- Remote Access: Access your home network from anywhere in the world.
- Secure Browsing: Use your Raspberry Pi as a secure proxy server.
- IoT Management: Manage IoT devices securely without exposing them to the internet.
- Data Transfer: Transfer files securely between devices using SCP over SSH.
Performance Tips
Finally, here are a few tips to optimize the performance of your SSH tunnel:
- Use compression to speed up data transfer.
- Limit the number of simultaneous connections to conserve resources.
- Monitor your Raspberry Pi’s CPU and memory usage to ensure it’s not overloaded.
Conclusion
And there you have it, folks! A comprehensive guide to setting up a Raspberry Pi SSH tunnel. Whether you’re a seasoned pro or just starting out, this powerful tool can help you secure your connections and manage your devices remotely with ease.
Remember, security is key. Always use strong passwords, SSH keys, and firewalls to protect your Raspberry Pi from unauthorized access. And don’t forget to keep your software up to date to patch any vulnerabilities.
So, what are you waiting for? Grab your Raspberry Pi, fire up your terminal, and start tunneling! And if you found this article helpful, be sure to leave a comment, share it with your friends, or check out some of our other tech guides. Happy tinkering, and stay secure out there! Cheers!