Hey there, tech-savvy friend! Are you ready to dive into the world of remote access and unlock the full potential of your Raspberry Pi? Accessing Raspberry Pi SSH remotely is like giving your little computer superpowers. Imagine being able to control your Pi from anywhere in the world—whether you're debugging a project at work, managing a home automation system, or just showing off your tech skills to your mates. This guide will take you step-by-step through the process, making sure you're equipped with all the knowledge you need to get it done. No more excuses for being tied to your local network!
Let’s face it—Raspberry Pi has become a staple for hobbyists, developers, and even professionals. From building smart home devices to creating custom servers, the possibilities are endless. But what happens when you need to access your Pi while you're away from home? SSH (Secure Shell) is your go-to tool for remote access, but setting it up isn't always straightforward. That's where we come in. We'll break it down for you, so you can focus on the fun stuff.
Before we dive deep, let me drop a quick hint: this guide isn't just about theory. It's packed with practical steps, tips, and tricks to make sure you're not left scratching your head. So, grab a cup of coffee, settle into your favorite coding chair, and let's get started on mastering how to access Raspberry Pi SSH remotely!
Read also:Access Remote Iot Router Free Your Ultimate Guide To Seamless Connectivity
Setting Up SSH on Your Raspberry Pi
Read also:Pining For Kim Trailblazer Animation A Deep Dive Into The Hype And Craze
Connecting to Your Pi Remotely
Introduction to SSH
Alright, let's start with the basics. SSH stands for Secure Shell, and it's a protocol designed to provide secure communication over unsecured networks. Think of it as a secure tunnel that lets you connect to your Raspberry Pi from anywhere. When you access Raspberry Pi SSH remotely, you're essentially opening a command-line interface to your Pi, allowing you to run commands and manage files as if you were sitting right in front of it.
SSH isn't just about convenience—it's also about security. Unlike older protocols like Telnet, SSH encrypts all data transmitted between your device and the Raspberry Pi. This means that even if someone intercepts your connection, they won't be able to make sense of what's being sent. Pretty cool, right?
Why Use SSH for Raspberry Pi?
Here's the deal: SSH is the ultimate tool for anyone working with Raspberry Pi. Whether you're managing a headless setup (a Pi without a monitor or keyboard) or just want to control your Pi from another location, SSH is your best friend. Here are a few reasons why:
- Headless Setup: You don't need a monitor or keyboard to use your Pi.
- Remote Access: Access your Pi from anywhere in the world.
- Security: SSH ensures that your connection is encrypted and secure.
- Automation: You can run scripts and automate tasks remotely.
Trust me, once you start using SSH, you'll wonder how you ever lived without it.
Setting Up SSH on Your Raspberry Pi
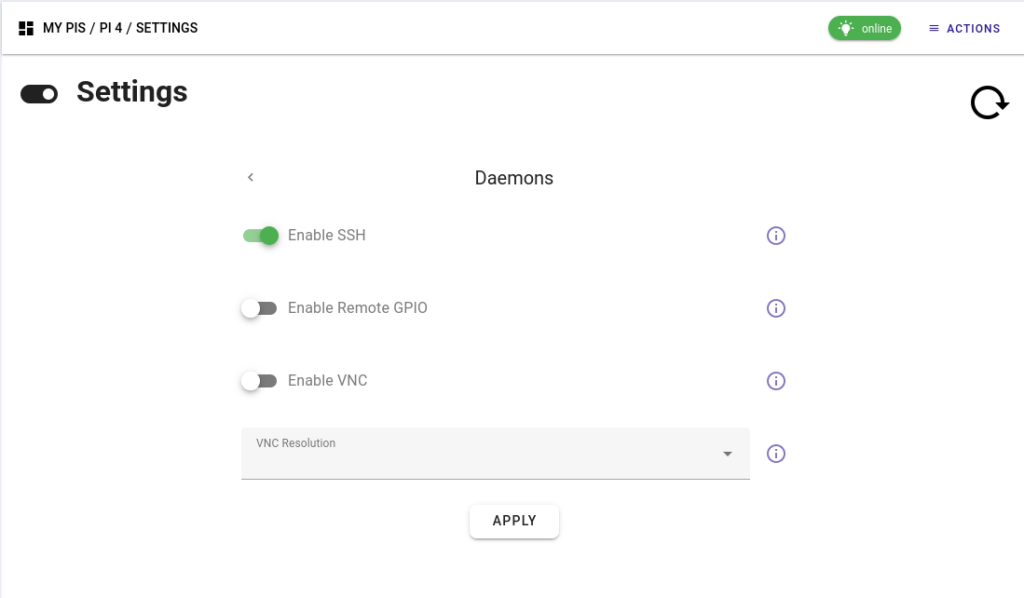
Alright, let's get our hands dirty. The first step in accessing Raspberry Pi SSH remotely is enabling SSH on your Pi. Don't worry—it's super easy. Here's how you do it:
- Boot up your Raspberry Pi and log in.
- Open the terminal or use the Raspberry Pi Configuration tool.
- Run the command
sudo raspi-config. - Select "Interfacing Options" and then "SSH".
- Choose "Yes" to enable SSH.
- Reboot your Pi with
sudo reboot.
Boom! SSH is now enabled on your Pi. But hold on—we're not done yet. You still need to configure a few things to make remote access possible.
Configuring Port Forwarding
Now, let's talk about port forwarding. If you're accessing your Pi from outside your local network, you'll need to configure your router to forward SSH traffic to your Pi. Here's how:
- Log in to your router's admin interface (usually at
192.168.0.1or192.168.1.1). - Find the "Port Forwarding" or "NAT" settings.
- Create a new rule to forward port 22 (the default SSH port) to your Pi's local IP address.
- Save the changes and restart your router if necessary.
And just like that, your router is now directing SSH traffic to your Pi. Easy peasy.
Using Dynamic DNS
Here's the thing: most home internet connections have dynamic IP addresses, meaning your public IP can change without warning. That's where Dynamic DNS (DDNS) comes in. DDNS services like No-IP or DuckDNS assign a domain name to your IP address, so you can always connect to your Pi using the same address, even if your IP changes.
To set up DDNS:
- Sign up for a DDNS service and create a hostname.
- Install the DDNS client on your Pi and configure it with your DDNS credentials.
- Test the connection to make sure everything is working.
With DDNS in place, you'll never have to worry about changing IPs again.
Securing Your SSH Connection
Security is key when you're accessing Raspberry Pi SSH remotely. You don't want some random hacker gaining access to your Pi, do you? Here are a few tips to keep your SSH connection safe:
- Change the Default Port: Switch from port 22 to something less common, like 2222.
- Disable Root Login: Don't allow root access via SSH.
- Use Key-Based Authentication: Generate SSH keys and use them instead of passwords.
- Set Up a Firewall: Restrict access to your Pi using tools like ufw.
Additional Security Measures
Want to take security to the next level? Consider these advanced tips:
- Fail2Ban: Install Fail2Ban to block repeated login attempts.
- Two-Factor Authentication: Use tools like Google Authenticator for added protection.
- Regular Updates: Keep your Pi's software up to date to patch vulnerabilities.
Remember, security is an ongoing process. Stay vigilant and keep your Pi safe!
Connecting to Your Pi Remotely
Finally, the moment of truth! With SSH enabled, port forwarding configured, and DDNS set up, you're ready to connect to your Pi remotely. Here's how:
- Open an SSH client on your computer (like PuTTY for Windows or the terminal for macOS/Linux).
- Enter your Pi's hostname or public IP address.
- Provide your username and password (or SSH key).
- Boom! You're now connected to your Pi remotely.
Using an SSH Client
Not sure which SSH client to use? Here are a few popular options:
- Terminal: Built-in on macOS and Linux.
- PuTTY: A free and easy-to-use client for Windows.
- MobaXterm: A powerful SSH client with additional features.
Choose the one that works best for you and get connected.
Troubleshooting Common Issues
Even the best-laid plans can hit a snag. If you're having trouble accessing Raspberry Pi SSH remotely, here are a few common issues and how to fix them:
- Connection Refused: Double-check your port forwarding settings and make sure SSH is enabled on your Pi.
- Wrong Hostname/IP: Verify your DDNS setup and ensure your public IP is correct.
- Authentication Failed: Make sure you're using the right username and password or SSH key.
Still stuck? Google is your friend. Chances are, someone else has faced the same issue and found a solution.
Conclusion and Next Steps
And there you have it—a complete guide to accessing Raspberry Pi SSH remotely. From enabling SSH to securing your connection and troubleshooting issues, we've covered everything you need to know. Now it's your turn to put this knowledge into practice and take your Raspberry Pi projects to the next level.
Before you go, here's a quick recap:
- Enable SSH on your Raspberry Pi.
- Set up port forwarding on your router.
- Use Dynamic DNS to handle changing IPs.
- Secure your SSH connection with key-based authentication and other measures.
- Connect to your Pi remotely using an SSH client.
Don't forget to leave a comment or share this article with your tech-loving friends. And if you're hungry for more Raspberry Pi tips and tricks, check out our other articles. Happy tinkering, and see you in the next one! 🚀