Hey there, tech enthusiasts! If you’ve ever wondered how to securely access your IoT devices remotely, you’re in the right place. In this SSH RemoteIoT tutorial, we’ll dive deep into the world of secure shell (SSH) and its application in managing remote IoT systems. Whether you’re a beginner or an intermediate user, this guide will walk you through everything you need to know about setting up and maintaining secure remote connections for your IoT devices.
Imagine being able to control your smart home devices, monitor industrial sensors, or manage cloud-based IoT platforms from anywhere in the world. Sounds cool, right? But here’s the catch—doing so without proper security measures can leave your devices vulnerable to cyber threats. That’s where SSH comes in. It’s like a digital lock that keeps your IoT systems safe while giving you full control.
This SSH RemoteIoT tutorial isn’t just another tech guide—it’s your go-to resource for mastering secure remote access. From understanding the basics of SSH to implementing advanced configurations, we’ve got you covered. So, buckle up and let’s get started on this exciting journey!
Read also:Nagi Hikaru Sone A Rising Star In The Entertainment World
Table of Contents
Read also:Salt Trick For Men True Or False Unveiling The Truth
Troubleshooting Common SSH Issues
What is SSH?
Let’s start with the basics. SSH, or Secure Shell, is a cryptographic protocol designed to provide secure communication over unsecured networks. Think of it as a virtual hallway where all your data moves safely, even when prying eyes are lurking around. Originally developed in the 1990s, SSH has become the go-to solution for remote server management and secure file transfers.
Here’s the deal: when you’re working with IoT devices, security is non-negotiable. SSH ensures that every command you send and every piece of data you transfer is encrypted, making it nearly impossible for hackers to intercept or tamper with your communication.
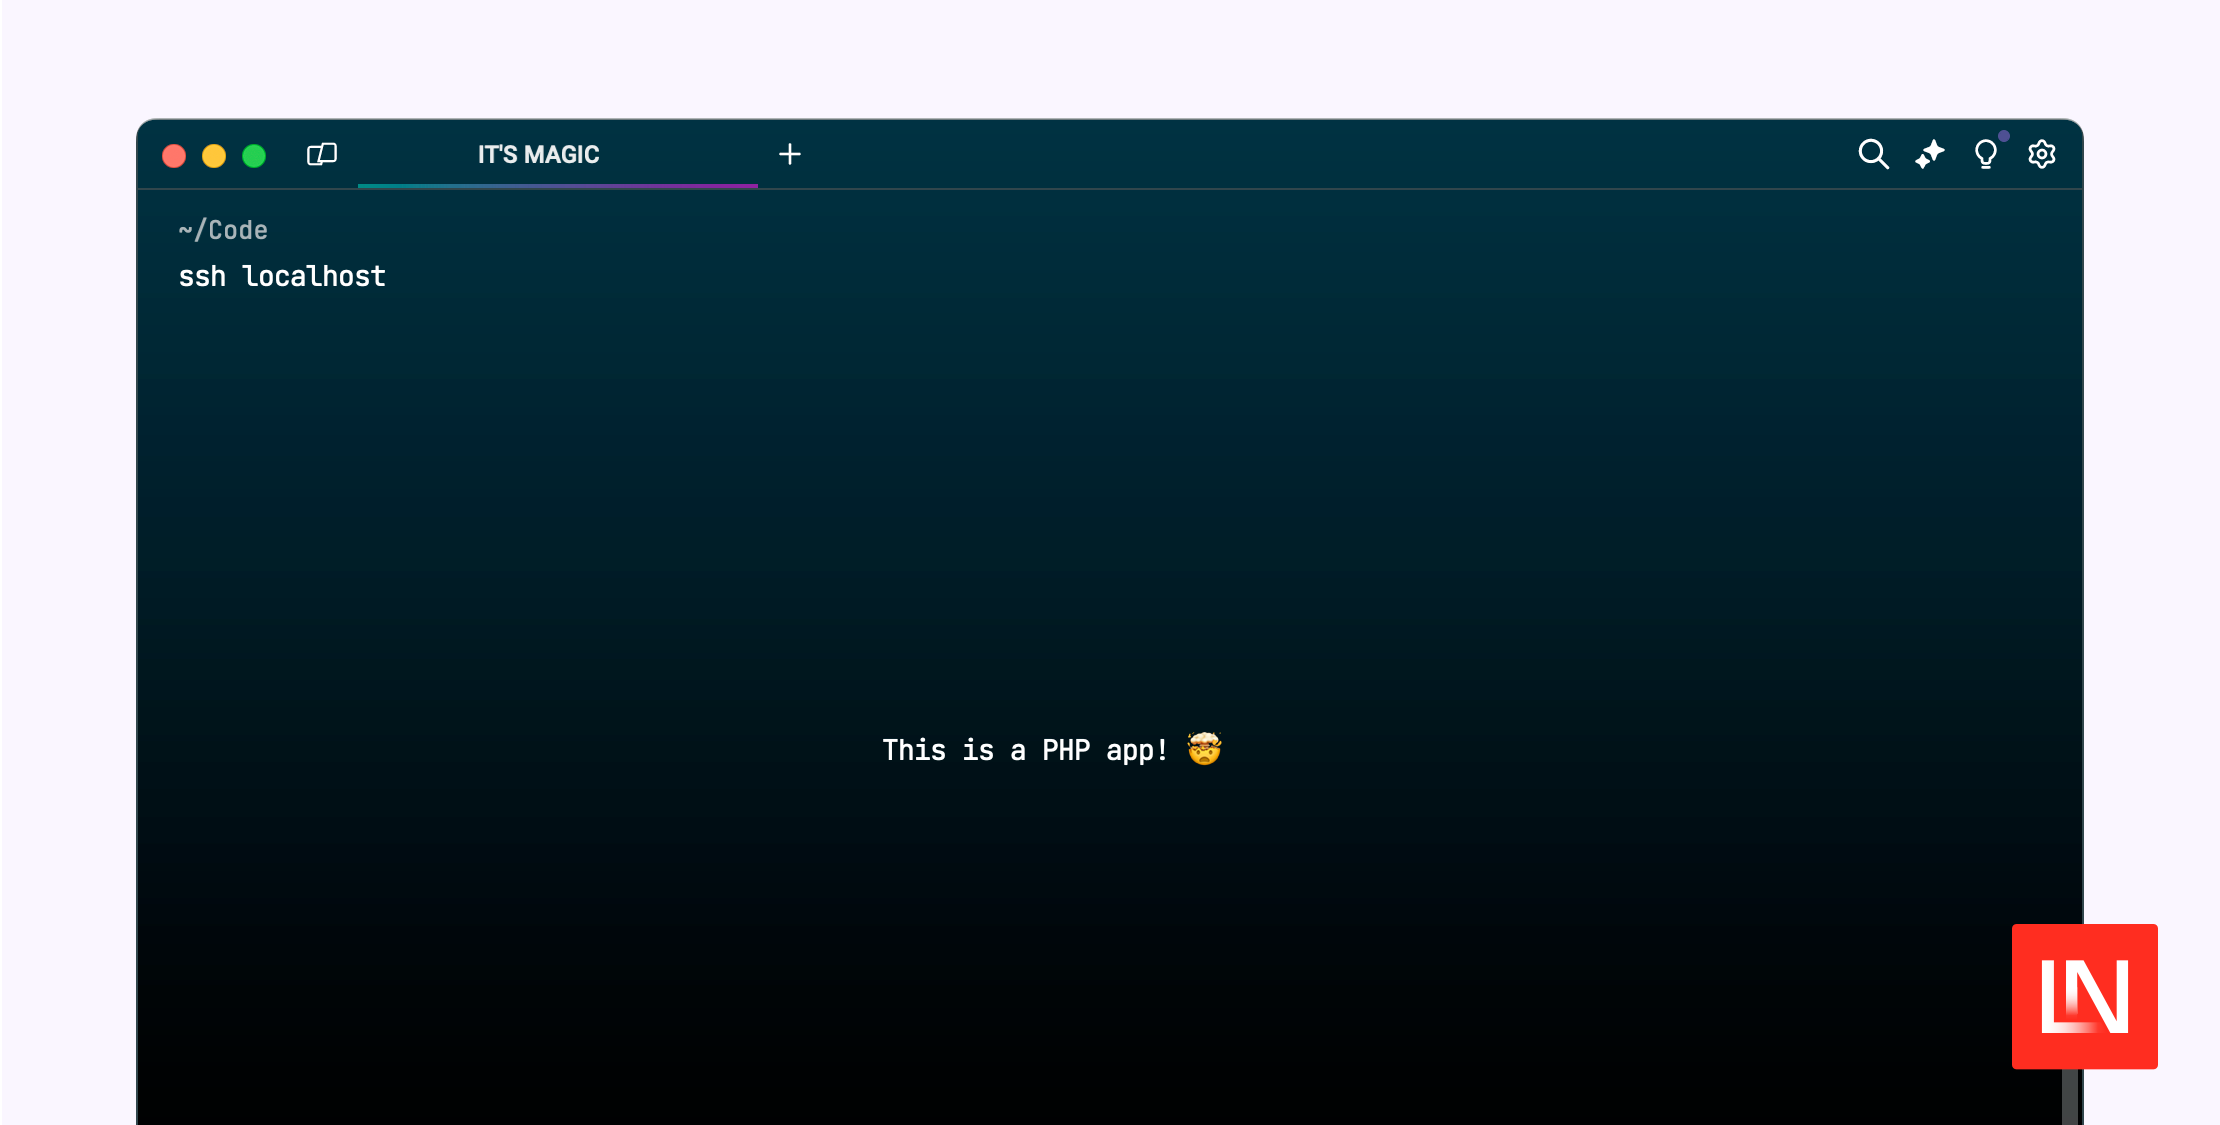
And guess what? SSH isn’t just limited to servers. You can use it to remotely manage your IoT devices, whether it’s a Raspberry Pi controlling your smart home or a sensor monitoring environmental conditions in a factory.
Why SSH Stands Out
- Encryption: All data is encrypted, ensuring privacy and security.
- Authentication: SSH uses strong authentication methods to verify the identity of users and devices.
- Flexibility: Supports multiple protocols and can be customized for various use cases.
Why Use SSH for RemoteIoT?
Now that we’ve covered what SSH is, let’s talk about why it’s perfect for RemoteIoT applications. IoT devices are everywhere—smart homes, industrial automation, healthcare systems, and more. But these devices often lack the robust security features found in traditional computing systems. That’s where SSH comes in.
Using SSH for RemoteIoT offers several advantages:
- Secure Access: SSH ensures that only authorized users can access your IoT devices.
- Data Integrity: All data transmitted between your device and remote server remains intact and unaltered.
- Scalability: Whether you’re managing a single device or an entire network, SSH can handle it.
- Compatibility: SSH works seamlessly with a wide range of IoT platforms and operating systems.
In today’s interconnected world, securing your IoT devices is more important than ever. With SSH, you can rest easy knowing that your data and systems are protected.
Getting Started with SSH
Ready to dive into SSH? Let’s walk through the basics of setting up SSH for your IoT devices. First things first, you’ll need a few essentials:
- An IoT device with SSH support (most modern devices have this).
- An SSH client on your computer (Windows users can use PuTTY, while macOS and Linux have built-in SSH clients).
- A stable internet connection (duh!).
Once you have everything in place, follow these simple steps:
- Find the IP address of your IoT device. You can usually find this in the device’s settings or by using a network scanner.
- Open your SSH client and enter the IP address, username, and password for your device.
- Hit connect, and voilà! You’re now remotely connected to your IoT device.
Pro tip: If you’re managing multiple devices, consider using SSH keys for passwordless authentication. It’s like having a master key that opens all your doors without needing to remember separate passwords.
Step-by-Step SSH Setup
Now that you know the basics, let’s dive deeper into setting up SSH for your IoT devices. This section will guide you through the entire process, step by step.
Step 1: Enable SSH on Your IoT Device
Most IoT devices come with SSH disabled by default. To enable it, follow these steps:
- Access your device’s configuration menu.
- Look for the SSH settings and enable the service.
- Save your changes and restart the device if necessary.
Step 2: Install an SSH Client
If you’re on macOS or Linux, you’re good to go—SSH is already installed. Windows users, however, will need to download a client like PuTTY or use the built-in Windows Terminal with SSH support.
Step 3: Connect to Your Device
With SSH enabled and your client ready, it’s time to connect:
- Open your SSH client and enter the device’s IP address.
- Enter your username and password when prompted.
- Once connected, you’ll have full access to your device’s command-line interface.
And that’s it! You’re now ready to start managing your IoT devices remotely.
Securing Your SSH Connection
While SSH is inherently secure, there are still steps you can take to make it even more robust. Here are some tips to fortify your SSH connections:
- Use Strong Passwords: Avoid using common passwords or ones that are easily guessable.
- Implement SSH Keys: Passwordless authentication using SSH keys adds an extra layer of security.
- Disable Root Login: Restrict direct root access to prevent unauthorized users from gaining full control.
- Change Default Ports: Moving SSH from the default port (22) to a non-standard port can deter automated attacks.
Remember, security is a continuous process. Regularly update your software, monitor your connections, and stay informed about the latest threats.
Advanced SSH Configurations
For those who want to take their SSH game to the next level, here are some advanced configurations you can try:
SSH Tunnels
SSH tunnels allow you to securely forward traffic between your local machine and a remote server. This is especially useful when accessing sensitive IoT data over public networks.
SSH Port Forwarding
Port forwarding lets you map specific ports on your local machine to ports on the remote server. This can be handy for accessing web interfaces or other services running on your IoT devices.
SSH Multiplexing
Multiplexing allows you to reuse existing SSH connections, reducing connection times and improving efficiency. Perfect for managing multiple devices simultaneously.
Troubleshooting Common SSH Issues
Even the best-laid plans can hit a snag. Here are some common SSH issues and how to fix them:
- Connection Refused: Check that SSH is enabled on your device and that the correct IP address and port are being used.
- Authentication Failed: Double-check your username and password. If you’re using SSH keys, ensure they’re correctly configured.
- Timeout Errors: Ensure your network connection is stable and that there are no firewalls blocking the SSH port.
If all else fails, consult the device’s documentation or reach out to the manufacturer’s support team.
SSH and IoT Security
Security is a top concern when it comes to IoT devices. With billions of connected devices worldwide, the potential for cyberattacks is immense. SSH plays a crucial role in securing these devices, but it’s not a silver bullet.
To truly protect your IoT ecosystem, consider implementing additional security measures:
- Regularly update firmware and software.
- Use firewalls and intrusion detection systems.
- Limit access to only trusted users and devices.
By combining SSH with other security best practices, you can create a robust defense against cyber threats.
Best Practices for RemoteIoT
Here are some final tips to help you make the most of SSH for RemoteIoT:
- Document your configurations and keep them in a safe place.
- Regularly audit your SSH connections to ensure everything is functioning as expected.
- Stay informed about the latest developments in SSH and IoT security.
With these best practices in mind, you’ll be well-equipped to manage your IoT devices securely and efficiently.
Conclusion and Next Steps
And there you have it—your comprehensive SSH RemoteIoT tutorial. From understanding the basics of SSH to implementing advanced configurations, we’ve covered everything you need to know to securely manage your IoT devices remotely.
Remember, security is an ongoing process. Stay vigilant, keep learning, and don’t hesitate to reach out to the community if you have questions or need help. And hey, if you found this tutorial helpful, why not share it with your fellow tech enthusiasts? Together, we can build a safer, smarter IoT world.
So, what are you waiting for? Get out there and start exploring the possibilities of SSH RemoteIoT. The future is yours to control—safely, securely, and with confidence!