Imagine this: You're sitting at home, coffee in hand, and you're thinking about creating your own little cloud network. Sounds cool, right? Well, welcome to the world of Raspberry Pi VPC Network Example! With the power of a tiny yet mighty device like the Raspberry Pi, you can set up your very own Virtual Private Cloud (VPC) right from your living room. Whether you're a tech enthusiast, a student, or someone looking to experiment with cloud computing, this guide will walk you through everything you need to know. No more staring blankly at complicated jargon—let's break it down step by step!
Now, let’s be real here. Setting up a VPC using Raspberry Pi might sound intimidating, but trust me, it’s not as scary as it seems. Think of it like building a LEGO castle—once you understand the pieces, it all clicks into place. By the end of this guide, you’ll have a solid understanding of how to create your own Raspberry Pi VPC network, complete with examples and practical tips. So grab your Pi and let’s dive in!
Before we jump into the nitty-gritty details, let’s address the elephant in the room: Why should you care about Raspberry Pi VPC Network Examples? In today’s digital age, having control over your data and infrastructure is more important than ever. By learning how to set up your own VPC, you’re not just gaining a cool skill—you’re also taking a step towards becoming a tech wizard. Let’s get started!
Read also:Juliana Palvin Rising Star Her Journey And Everything You Need To Know
What is Raspberry Pi VPC Network Example?
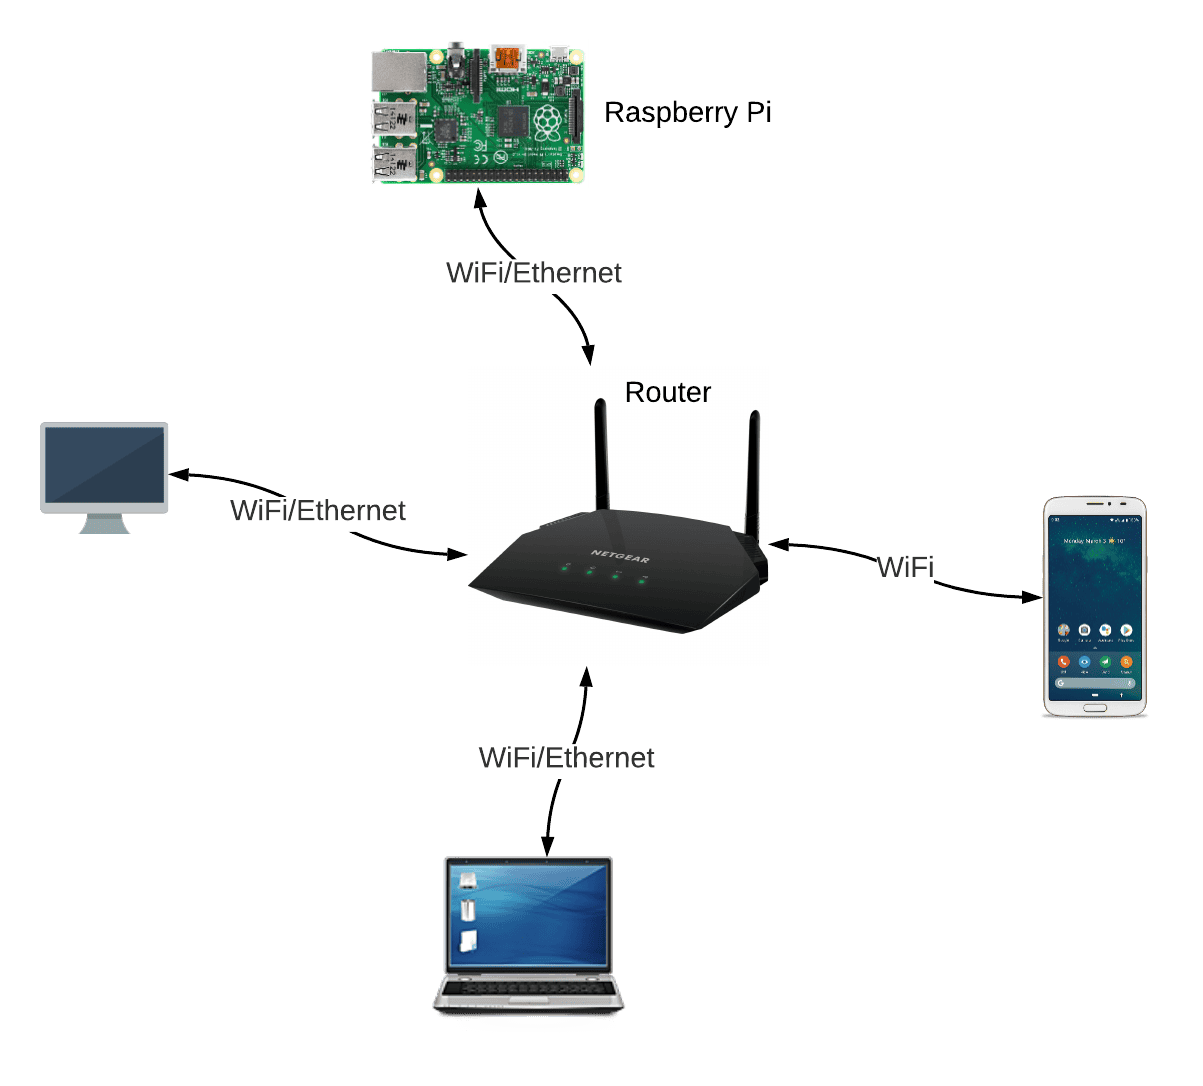
Let’s start with the basics, shall we? A Raspberry Pi VPC Network Example refers to a setup where you use a Raspberry Pi device to create a Virtual Private Cloud (VPC). Think of it as your own personal cloud, running on a small computer that fits in the palm of your hand. The Raspberry Pi, with its affordable price tag and versatility, is perfect for experimenting with cloud infrastructure without breaking the bank.
Here’s the kicker: A VPC is essentially a secure and isolated environment within a larger cloud platform. It allows you to control who has access to your resources, set up firewalls, and manage network traffic. With Raspberry Pi, you can replicate this functionality on a smaller scale, giving you hands-on experience with cloud networking concepts.
For example, imagine setting up a VPC for your home network. You could host your own web server, store files securely, or even experiment with IoT devices—all within your Raspberry Pi-powered VPC. Pretty cool, huh?
Why Use Raspberry Pi for VPC Networking?
Now that we know what Raspberry Pi VPC Network Example means, let’s talk about why you’d want to use Raspberry Pi for this kind of project. First off, Raspberry Pi is incredibly affordable. For less than $50, you can get a fully functional computer that’s capable of running lightweight servers and networking tasks. Plus, it’s energy-efficient, so you won’t be racking up huge electricity bills while you experiment.
Another reason to love Raspberry Pi is its community support. There are tons of tutorials, forums, and user groups dedicated to helping beginners and experts alike. If you ever get stuck, chances are someone else has already faced the same challenge—and they’ve probably shared their solution online.
Lastly, Raspberry Pi is an excellent learning tool. By building your own VPC network, you’ll gain valuable experience with networking concepts, Linux systems, and cloud infrastructure. These skills are highly sought after in the tech industry, so investing time in learning Raspberry Pi VPC setups can pay off big time in the long run.
Read also:Why Putting Salt Under Your Tongue Is A Surprising Gamechanger
Setting Up Your Raspberry Pi for VPC Networking
Ready to roll up your sleeves and get started? Let’s walk through the steps to set up your Raspberry Pi for VPC networking. Here’s what you’ll need:
- A Raspberry Pi device (preferably the latest model)
- A microSD card with at least 16GB of storage
- A power adapter compatible with your Raspberry Pi
- An Ethernet cable or Wi-Fi dongle for connectivity
- A keyboard and mouse (or access to SSH for remote access)
Once you’ve gathered your gear, the first step is to install an operating system on your Raspberry Pi. The most popular choice is Raspberry Pi OS, which comes in both desktop and lightweight versions. If you’re planning to use your Pi as a headless server (meaning no monitor), the lightweight version is a great option.
After installing the OS, you’ll need to configure your network settings. This includes setting up static IP addresses, configuring DNS, and enabling SSH for remote access. Don’t worry if this sounds complicated—we’ll break it down step by step in the next section!
Configuring Static IP Addresses
One of the key steps in setting up a Raspberry Pi VPC network is configuring static IP addresses. This ensures that your devices always have the same IP address, making it easier to manage your network. Here’s how you can do it:
- Open the terminal on your Raspberry Pi.
- Use the command
sudo nano /etc/dhcpcd.confto edit the network configuration file. - Add the following lines to set a static IP address:
interface eth0
static ip_address=192.168.1.100/24
static routers=192.168.1.1
static domain_name_servers=8.8.8.8
Save the file and reboot your Raspberry Pi for the changes to take effect. Voilà! You now have a static IP address for your VPC network.
Understanding VPC Concepts with Raspberry Pi
Before we dive deeper into examples, it’s important to understand the core concepts behind VPC networking. Think of a VPC as a virtual version of a physical network. It allows you to create subnets, assign IP addresses, and manage security groups—all within a controlled environment.
With Raspberry Pi, you can simulate these VPC features on a smaller scale. For example, you can create multiple subnets within your home network, each with its own IP range and security settings. This is particularly useful if you want to isolate certain devices or services from the rest of your network.
Another important concept is routing. In a VPC, you need to define how traffic flows between subnets and external networks. On Raspberry Pi, you can use tools like iptables to configure firewall rules and manage network traffic. This gives you fine-grained control over who can access your resources and how they interact with your network.
Creating Subnets with Raspberry Pi
Subnets are a crucial part of any VPC setup. They allow you to divide your network into smaller, more manageable segments. With Raspberry Pi, you can create subnets using tools like netplan or directly editing the network configuration files.
Here’s a simple example:
subnet 192.168.1.0/24
range 192.168.1.10 192.168.1.100
option routers 192.168.1.1
option subnet-mask 255.255.255.0
This configuration sets up a subnet with a range of IP addresses from 192.168.1.10 to 192.168.1.100, with a gateway at 192.168.1.1. You can repeat this process for additional subnets, depending on your needs.
Real-World Raspberry Pi VPC Network Example
Let’s look at a real-world example of how you can use Raspberry Pi to create a VPC network. Imagine you’re running a small business and want to set up a secure environment for storing sensitive data. You could use Raspberry Pi to create a VPC with the following components:
- A web server hosting your company website
- A file server for storing documents and backups
- A database server for managing customer information
- A firewall to control access to your network
By isolating these services within a VPC, you can ensure that only authorized users have access to your data. Plus, you can easily scale your setup as your business grows, adding more servers or services as needed.
Securing Your Raspberry Pi VPC Network
Security is a top priority when setting up a VPC network. With Raspberry Pi, you can implement several layers of protection to keep your data safe. Here are a few tips:
- Use strong passwords and enable two-factor authentication (2FA) for remote access.
- Configure firewalls to block unauthorized access to your network.
- Regularly update your operating system and software to patch security vulnerabilities.
- Monitor network traffic for suspicious activity using tools like Wireshark or tcpdump.
By following these best practices, you can create a secure and reliable VPC network using Raspberry Pi.
Advanced Raspberry Pi VPC Networking Techniques
Once you’ve mastered the basics, it’s time to take your Raspberry Pi VPC network to the next level. Here are a few advanced techniques you can try:
1. Load Balancing
Load balancing allows you to distribute traffic across multiple servers, improving performance and reliability. With Raspberry Pi, you can set up a basic load balancer using tools like HAProxy or NGINX. This is particularly useful if you’re running a high-traffic website or application.
2. DNS Management
Managing your own DNS server gives you full control over how your network resolves domain names. On Raspberry Pi, you can use software like BIND or Pi-hole to set up a DNS server. This not only improves performance but also enhances security by blocking malicious websites.
3. Containerization
Containerization allows you to run multiple applications on the same server without conflicts. With tools like Docker, you can deploy containers on your Raspberry Pi, making it easier to manage complex VPC setups. This is especially useful for experimenting with different services or scaling your network.
Common Challenges and Solutions
As with any project, setting up a Raspberry Pi VPC network comes with its own set of challenges. Here are a few common issues you might encounter and how to solve them:
- Network Connectivity Issues: Make sure your Raspberry Pi is properly connected to your router and that your network settings are correct. Double-check your IP address and subnet mask configurations.
- SSH Access Problems: If you’re unable to connect to your Raspberry Pi via SSH, ensure that the SSH service is enabled and that your firewall rules allow incoming connections on port 22.
- Storage Limitations: If you’re running out of disk space, consider upgrading to a larger microSD card or using external storage devices like USB drives.
By troubleshooting these common issues, you can ensure a smooth experience while setting up your Raspberry Pi VPC network.
Conclusion: Take Your Raspberry Pi VPC Network to the Next Level
And there you have it—a comprehensive guide to Raspberry Pi VPC Network Examples. Whether you’re a beginner or an experienced tech enthusiast, there’s something for everyone in the world of Raspberry Pi VPC networking. From setting up basic configurations to experimenting with advanced techniques, the possibilities are endless.
So, what’s next? I encourage you to take action and start building your own Raspberry Pi VPC network. Share your experiences in the comments below, and don’t forget to check out our other articles for more tips and tricks. Happy tinkering, and remember—sometimes the best things in life come in small packages!
Table of Contents:
- What is Raspberry Pi VPC Network Example?
- Why Use Raspberry Pi for VPC Networking?
- Setting Up Your Raspberry Pi for VPC Networking
- Understanding VPC Concepts with Raspberry Pi
- Real-World Raspberry Pi VPC Network Example
- Securing Your Raspberry Pi VPC Network
- Advanced Raspberry Pi VPC Networking Techniques
- Common Challenges and Solutions
- Conclusion