Hey there, tech enthusiasts! If you're diving into the world of Raspberry Pi and exploring its endless possibilities, you've probably stumbled upon the term "SSH tunnel." Now, don't freak out if it sounds a bit intimidating at first. By the end of this guide, you'll be a pro at setting up and using Raspberry Pi SSH tunnels like a boss. Let's get into it, shall we?
SSH tunneling is not just some fancy buzzword for geeks; it's an essential tool for securing your data when you're working remotely or accessing sensitive information. Imagine being able to connect to your Raspberry Pi from anywhere in the world without worrying about hackers or prying eyes. Sounds pretty sweet, right?
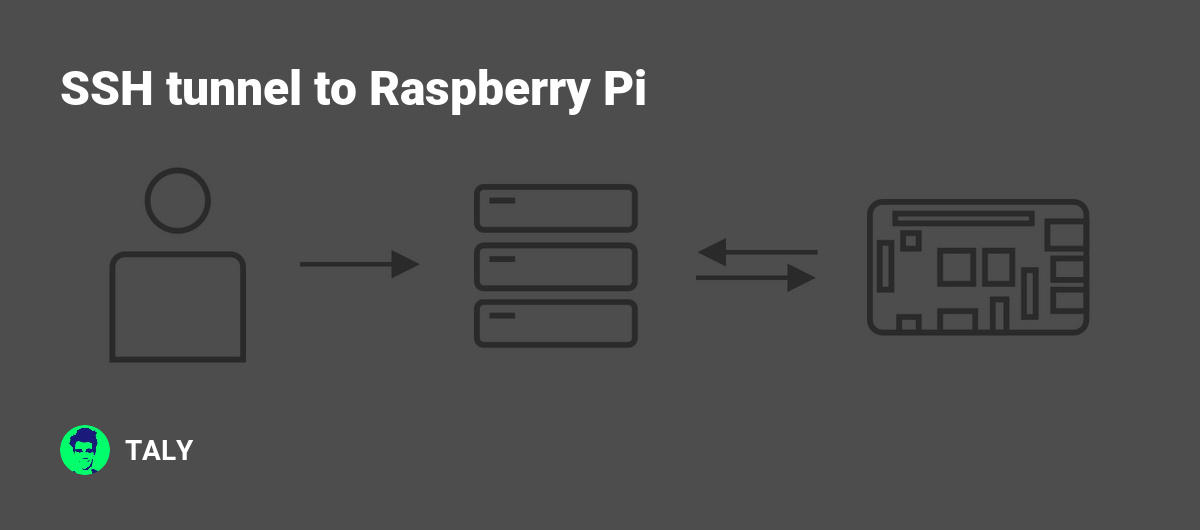
Before we dive deep into the nitty-gritty of Raspberry Pi SSH tunneling, let's clear the air about what it actually is. SSH stands for Secure Shell, and it's like a superhero for your network connections. It encrypts your data and keeps it safe from all sorts of digital villains. When you set up an SSH tunnel, you're essentially creating a secure pathway between your device and your Raspberry Pi. Pretty cool, huh?
Read also:Unveiling The Truth Behind Thomas Beaudoin Accident A Detailed Look
What Exactly is Raspberry Pi SSH Tunneling?
Alright, let's break it down in simple terms. An SSH tunnel is like a secret passageway that lets you send data between two computers without anyone intercepting it. In this case, your Raspberry Pi is one end of the tunnel, and your computer or another device is the other end. This setup is super handy if you're managing servers, transferring files, or even streaming content securely.
Here’s why SSH tunneling is such a big deal:
- It encrypts all your data, making it unreadable to anyone who tries to snoop.
- You can bypass firewalls and access blocked websites or services.
- It provides a secure way to access your Raspberry Pi remotely, no matter where you are.
Now that you know what it is, let's talk about why you'd want to use it with your Raspberry Pi. Whether you're running a home server, automating tasks, or just tinkering around, SSH tunneling gives you the peace of mind that your data is safe and sound.
Why Use SSH Tunnel with Raspberry Pi?
Your Raspberry Pi is more than just a tiny computer; it's a powerhouse for all kinds of projects. But here's the thing—when you're accessing it remotely, security should always be your top priority. That's where SSH tunneling comes in. It's like putting a bulletproof vest on your data connections.
Here are some scenarios where SSH tunneling with Raspberry Pi can save the day:
- Remote Access: Need to control your Raspberry Pi from another location? SSH tunneling lets you do that securely.
- File Transfers: Moving files between devices? SSH ensures they're encrypted during transit.
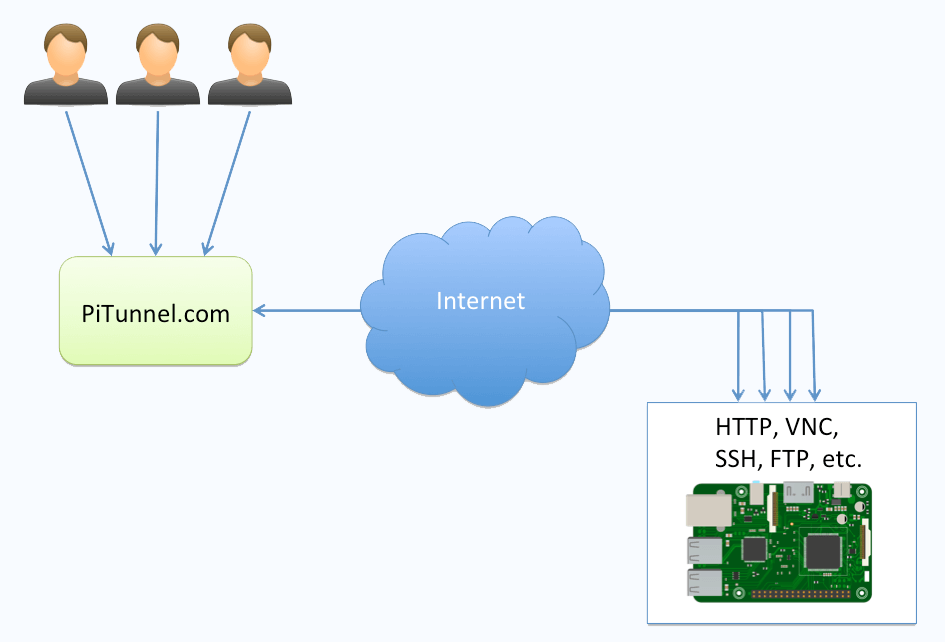
- Service Access: Want to access a web server or database running on your Raspberry Pi? SSH tunneling makes it safe and easy.
So, whether you're setting up a home automation system or running a media server, SSH tunneling is your best friend in the world of Raspberry Pi.
Read also:Does The Salt Trick Actually Work The Ultimate Guide To Separating Fact From Fiction
How to Set Up Raspberry Pi SSH Tunnel
Now that you know why SSH tunneling is awesome, let's talk about how to set it up on your Raspberry Pi. Don't worry; it's not as complicated as it sounds. Follow these steps, and you'll have your tunnel up and running in no time.
Step 1: Enable SSH on Your Raspberry Pi
First things first, you need to make sure SSH is enabled on your Raspberry Pi. Here's how you do it:
- Boot up your Raspberry Pi and log in.
- Open the terminal or connect via SSH if you're already set up.
- Type
sudo raspi-configand hit Enter. - Use the arrow keys to navigate to
Interfacing Optionsand press Enter. - Select
SSHand enable it. - That's it! SSH is now enabled on your Raspberry Pi.
Pro tip: If you're setting up a headless Raspberry Pi (without a monitor), you can enable SSH by placing an empty file named "ssh" on the boot partition.
Step 2: Install SSH Client on Your Computer
Next, you'll need an SSH client on the device you're using to connect to your Raspberry Pi. Most Linux and macOS systems come with SSH pre-installed. If you're on Windows, you can use tools like PuTTY or the built-in SSH client in PowerShell.
Here's how to check if SSH is installed on your computer:
- Open a terminal or command prompt.
- Type
sshand see if it recognizes the command. - If not, install an SSH client like PuTTY or use Windows PowerShell.
Step 3: Connect to Your Raspberry Pi
Now that SSH is enabled on your Raspberry Pi and you have a client on your computer, it's time to connect. Here's the magic command:
ssh pi@your_raspberry_pi_ip_address
Replace your_raspberry_pi_ip_address with the actual IP address of your Raspberry Pi. You'll be prompted to enter the password for the "pi" user. Once you're in, you're good to go!
Advanced SSH Tunneling Techniques
Once you've mastered the basics, it's time to level up your SSH tunneling skills. Here are some advanced techniques to make your connections even more secure and efficient:
1. Use SSH Keys for Authentication
Instead of using passwords, you can set up SSH keys for authentication. This method is more secure and convenient. Here's how:
- Generate an SSH key pair on your computer using
ssh-keygen. - Copy the public key to your Raspberry Pi using
ssh-copy-id pi@your_raspberry_pi_ip_address. - Try logging in again without entering a password. Magic!
2. Set Up Port Forwarding
Port forwarding allows you to access services running on your Raspberry Pi securely. For example, if you're running a web server, you can forward port 80 to your local machine. Here's the command:
ssh -L 8080:localhost:80 pi@your_raspberry_pi_ip_address
Now, open your browser and go to http://localhost:8080 to access your web server securely.
Common Issues and Troubleshooting
Even the best-laid plans can hit a snag. Here are some common issues you might encounter when setting up an SSH tunnel with Raspberry Pi and how to fix them:
Issue 1: Connection Refused
If you're getting a "Connection refused" error, it could mean SSH isn't running or the IP address is incorrect. Double-check the IP address and make sure SSH is enabled on your Raspberry Pi.
Issue 2: Authentication Failed
Make sure you're using the correct username and password. By default, the username is "pi" and the password is "raspberry." If you've changed them, use the updated credentials.
Issue 3: Slow Connection
SSH can sometimes be slow, especially if you're using a weak internet connection. Try tweaking the SSH settings or using a wired connection for better performance.
Security Best Practices for SSH Tunneling
Now that you know how to set up an SSH tunnel, let's talk about keeping it secure. Here are some best practices to follow:
- Use Strong Passwords: Avoid using simple passwords like "raspberry." Go for something complex and unique.
- Enable Two-Factor Authentication: Add an extra layer of security by enabling 2FA for SSH connections.
- Limit Access: Restrict SSH access to specific IP addresses if possible.
- Keep Software Updated: Regularly update your Raspberry Pi's operating system and SSH software to patch vulnerabilities.
By following these practices, you'll ensure that your SSH tunnel remains a secure and reliable tool for all your Raspberry Pi projects.
Real-World Applications of Raspberry Pi SSH Tunnel
SSH tunneling isn't just for tech enthusiasts; it has practical applications in everyday life. Here are a few examples:
1. Home Automation
Use SSH tunneling to securely manage your smart home devices from anywhere. Whether you're turning off lights or checking security cameras, SSH keeps your home automation system safe.
2. Remote Work
Working remotely? SSH tunneling lets you access your office server or development environment securely, ensuring your work stays confidential.
3. Media Streaming
Stream movies or music from your Raspberry Pi media server to your devices without worrying about data interception.
Conclusion
There you have it, folks! Raspberry Pi SSH tunneling is a powerful tool that can enhance your projects and keep your data secure. By following the steps in this guide, you'll be able to set up and use SSH tunnels like a pro.
So, what are you waiting for? Dive in, experiment, and make the most out of your Raspberry Pi. And remember, if you have any questions or need help, drop a comment below or share this article with your tech-savvy friends. Happy tinkering, and stay secure!
Table of Contents
- What Exactly is Raspberry Pi SSH Tunneling?
- Why Use SSH Tunnel with Raspberry Pi?
- How to Set Up Raspberry Pi SSH Tunnel
- Advanced SSH Tunneling Techniques
- Common Issues and Troubleshooting
- Security Best Practices for SSH Tunneling
- Real-World Applications of Raspberry Pi SSH Tunnel
- Conclusion