Imagine this: You’ve set up your Raspberry Pi as a mini-server at home, running some cool projects. But what if you need to access it remotely while you're miles away? What if you're stuck behind a firewall? Well, my friend, you're in the right place. Today, we're diving deep into the world of remotely accessing your Raspberry Pi via SSH, even when it’s tucked safely behind a firewall. And the best part? We’ll guide you through downloading and setting up Ubuntu for free!
Let me tell ya, remotely accessing your Raspberry Pi is not as complicated as it sounds. With SSH (Secure Shell), you can control your Pi from anywhere, just like magic. But when firewalls enter the picture, things get a little tricky. That’s why we’re here—to break it all down step by step.
In this guide, we'll cover everything you need to know about SSH, firewalls, and how to configure your Raspberry Pi to work seamlessly with Ubuntu. So grab a coffee, sit back, and let’s get started on this tech adventure!
Read also:Securely Connect Remote Iot Vpc Raspberry Pi Aws Example The Ultimate Guide
Here’s a quick roadmap to help you navigate:
- Setting Up SSH on Your Raspberry Pi
- Understanding Firewall Challenges
- What is Port Forwarding and Why You Need It
- Downloading Ubuntu for Free
- Connecting via SSH
- Security Best Practices
- Troubleshooting Common Issues
Setting Up SSH on Your Raspberry Pi
Before we jump into the nitty-gritty of remote access, let’s first make sure SSH is enabled on your Raspberry Pi. SSH is like a secret tunnel that allows you to securely connect to your Pi from anywhere.
Here’s how you do it:
- Boot up your Raspberry Pi and log in.
- Open the terminal—yeah, that black screen with green text. Don’t worry, it’s not as scary as it looks.
- Type
sudo raspi-configand hit enter. This opens up the Raspberry Pi configuration tool. - Use the arrow keys to navigate to
Interfacing Optionsand press Enter. - Select
SSHand enable it. Simple as that!
And just like that, SSH is ready to roll. But wait… what if you’re behind a firewall? That’s where things get a bit more interesting.
Why SSH is Important
SSH isn’t just about remote access; it’s about secure remote access. When you use SSH, your data is encrypted, so even if someone intercepts it, they won’t be able to make sense of it. This is crucial when you’re dealing with sensitive information, like configuring servers or managing projects.
Understanding Firewall Challenges
Now, let’s talk about firewalls. A firewall is like a bouncer at a club—it decides who gets in and who stays out. If your Raspberry Pi is behind a firewall, it can block incoming connections, making it impossible to access your Pi remotely.
Read also:Salt Trick For Men Ingredients Unlock The Secret Formula For A Virile Grooming Ritual
But don’t panic! There are ways around this. One of the most common methods is port forwarding.
What Happens When a Firewall Blocks SSH?
When a firewall blocks SSH, it essentially stops the connection from reaching your Pi. Think of it like trying to call a phone number, but the call gets dropped before it reaches the other end. Frustrating, right? That’s why we need to configure our router to allow SSH traffic through.
What is Port Forwarding and Why You Need It
Port forwarding is like giving your Raspberry Pi a VIP pass through the firewall. It tells your router to forward incoming SSH requests (which usually come in on port 22) to your Pi’s IP address.
Here’s how you set it up:
- Log in to your router’s admin panel. You’ll usually do this by typing
192.168.0.1or192.168.1.1into your browser. - Find the port forwarding section. It might be under Advanced Settings or Security.
- Create a new rule. Set the external port to 22 (or another port if you’re feeling sneaky), and the internal IP address to your Raspberry Pi’s IP.
- Save the changes and test the connection.
Voila! Your Pi now has a direct line of communication with the outside world.
Choosing the Right Port
While port 22 is the default for SSH, you can use any port you want. Some people prefer using non-standard ports to avoid automated attacks. Just remember to update your SSH client with the new port number.
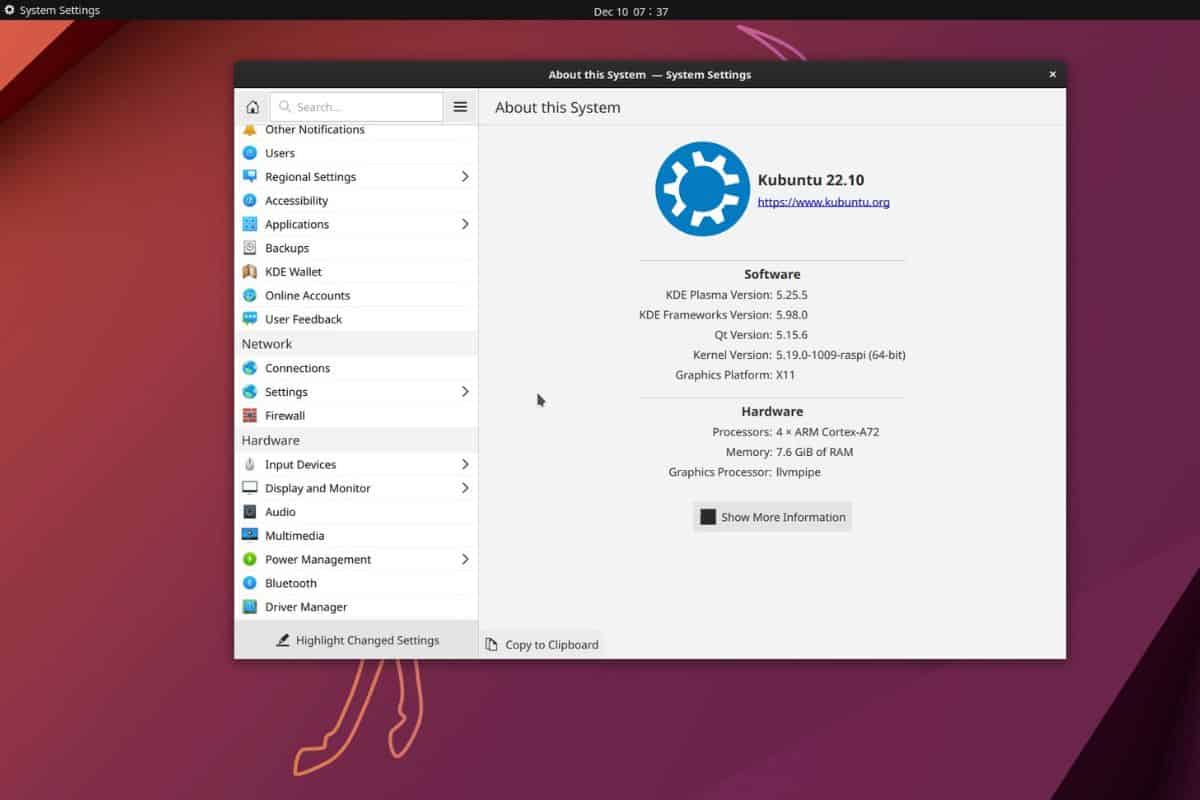
Downloading Ubuntu for Free
Now that your Raspberry Pi is ready for remote access, let’s talk about Ubuntu. Ubuntu is a powerful Linux-based operating system that’s perfect for running on your Pi. And guess what? It’s completely free!
Here’s how you download and install Ubuntu on your Raspberry Pi:
- Head over to the Ubuntu Raspberry Pi download page.
- Choose the version that suits your needs. If you’re not sure, go with the desktop version—it’s user-friendly and packed with features.
- Download the image file and use a tool like balenaEtcher to flash it onto an SD card.
- Insert the SD card into your Raspberry Pi and boot it up.
And there you have it—your Raspberry Pi is now running Ubuntu. Pretty cool, huh?
Why Choose Ubuntu?
Ubuntu is known for its stability and security. Plus, it has a massive community of developers who are always ready to help. Whether you’re setting up a home server, running a media center, or experimenting with IoT projects, Ubuntu has got you covered.
Connecting via SSH
With everything set up, it’s time to connect to your Raspberry Pi via SSH. Here’s how you do it:
- Open a terminal or use an SSH client like PuTTY (for Windows users).
- Enter the command
ssh pi@your-pi-ip-address. Replaceyour-pi-ip-addresswith the actual IP of your Pi. - Enter your Pi’s password when prompted.
That’s it! You’re now connected to your Raspberry Pi remotely. You can run commands, transfer files, and manage your projects just as if you were sitting right in front of it.
Using SSH Keys for Enhanced Security
Passwords are great, but SSH keys are even better. They’re like a digital keycard that lets you access your Pi without needing a password every time. Here’s how you set them up:
- Generate an SSH key pair on your local machine using
ssh-keygen. - Copy the public key to your Pi using
ssh-copy-id pi@your-pi-ip-address. - Test the connection by logging in again. This time, you won’t need a password.
SSH keys not only save you time but also add an extra layer of security.
Security Best Practices
Now that you’ve got remote access sorted, let’s talk about security. Here are a few best practices to keep your Raspberry Pi safe:
- Change the default password for the
piuser. - Disable password authentication and use SSH keys instead.
- Use a non-standard port for SSH to avoid automated attacks.
- Regularly update your Pi’s software to patch vulnerabilities.
By following these practices, you’ll ensure that your Pi remains secure, even when accessed remotely.
Why Security Matters
When you expose your Raspberry Pi to the internet, you’re opening it up to potential threats. Hackers love devices that aren’t properly secured, so taking these precautions is essential. Remember, security is not just about protecting your data—it’s about protecting your peace of mind.
Troubleshooting Common Issues
Even with the best setup, things can go wrong. Here are some common issues you might encounter and how to fix them:
Can’t Connect to Pi via SSH
Check the following:
- Is SSH enabled on your Pi?
- Are you using the correct IP address?
- Is port forwarding correctly set up on your router?
SSH Connection Drops Frequently
This could be due to network instability. Try:
- Using a wired connection instead of Wi-Fi.
- Increasing the SSH timeout settings on your client.
Conclusion
We’ve covered a lot of ground today—setting up SSH, dealing with firewalls, downloading Ubuntu, and securing your Raspberry Pi. By following this guide, you should now be able to access your Pi remotely with confidence.
So, what’s next? Why not share your newfound knowledge with others? Leave a comment below telling us about your Raspberry Pi projects. Or, if you’re feeling generous, share this article with your tech-savvy friends.
Remember, the world of Raspberry Pi is full of possibilities. With SSH and Ubuntu, you’ve got the tools to turn those possibilities into reality. Happy tinkering, and stay safe out there!